Git Branching
If your project is connected to a Git repository, you can switch to a different branch or create a new one directly from your project interface. This allows you to make changes or test features on a separate branch, without affecting the main branch of your project. It's especially useful when you're working on new functionality or updates that aren't ready to be merged yet.
Note
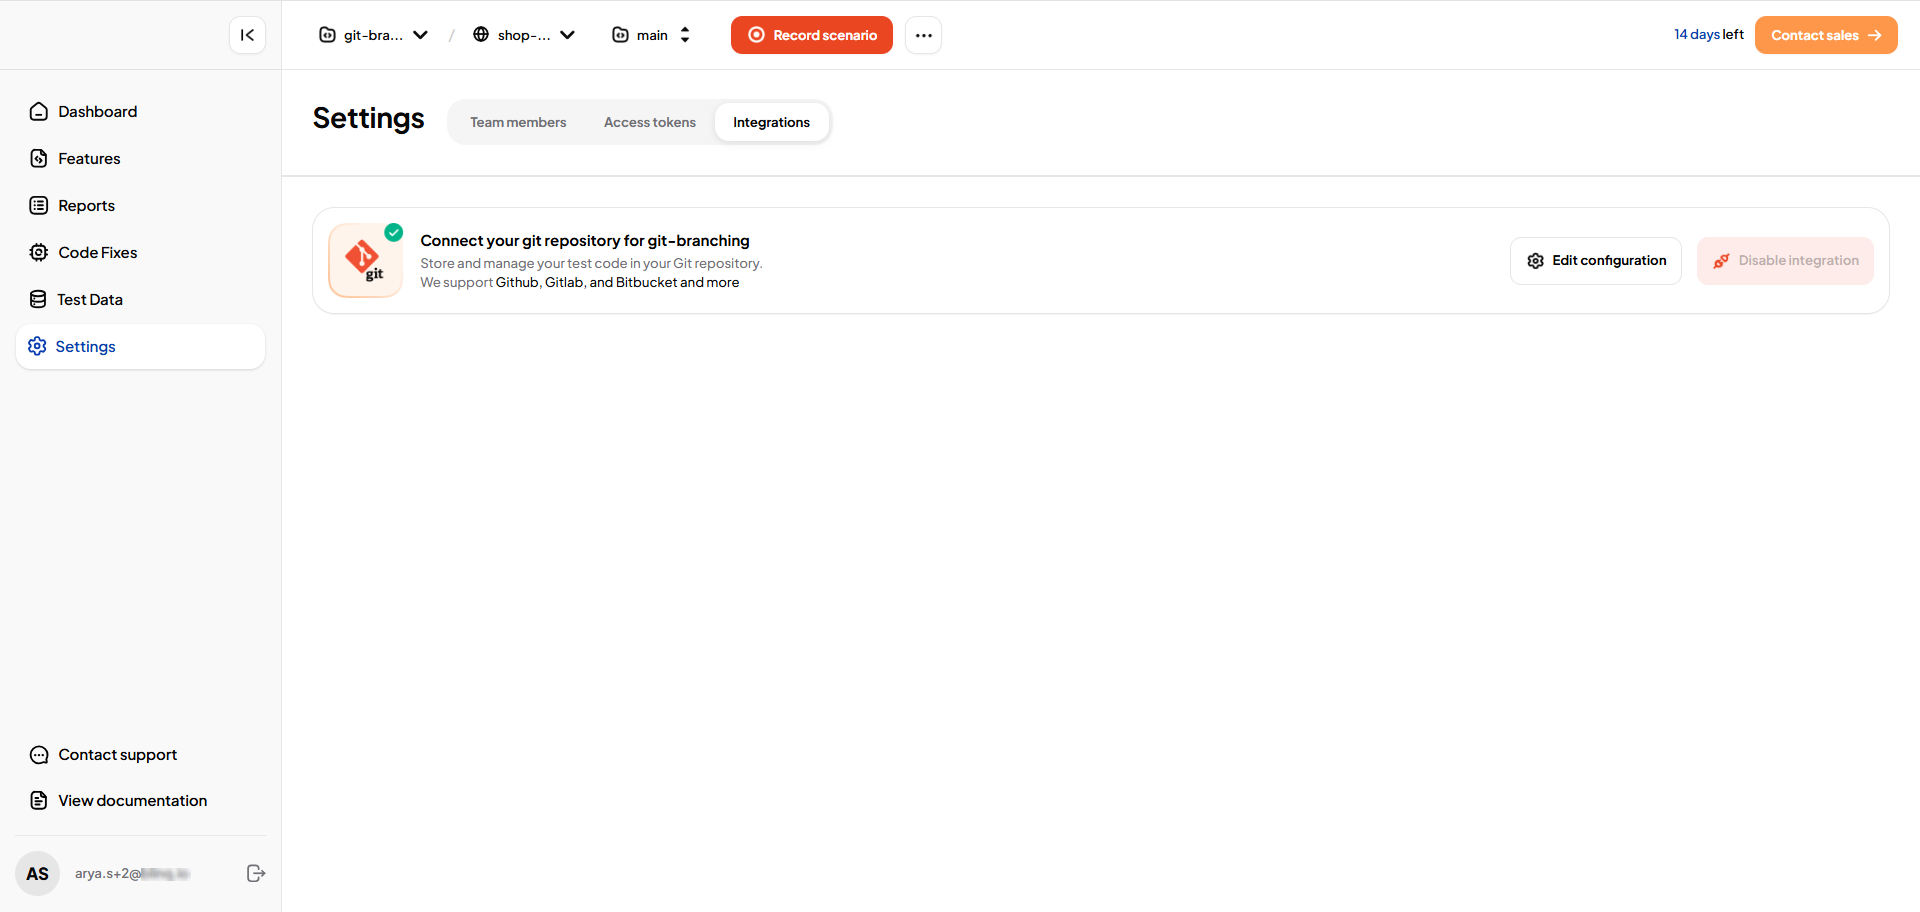
This feature is available only for projects that are already connected to a Git repository. Refer Git Integration Instructions for setup steps.
Select or Create a Branch
Open your Git-integrated project.
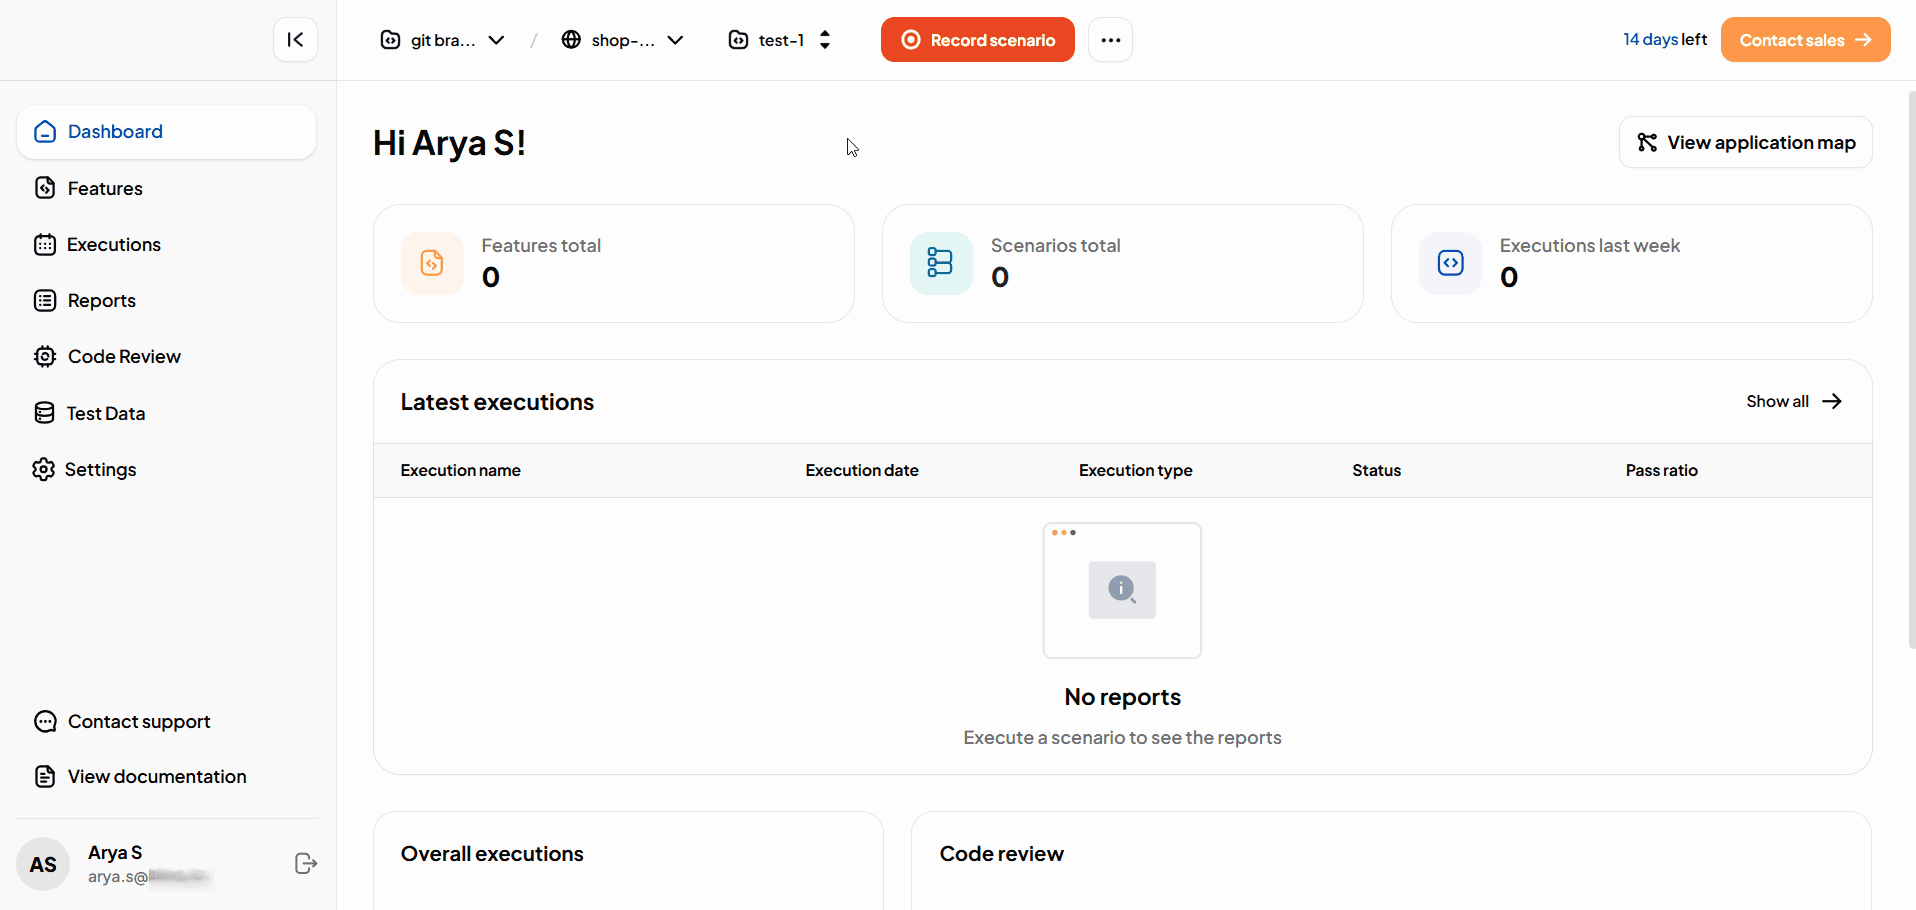
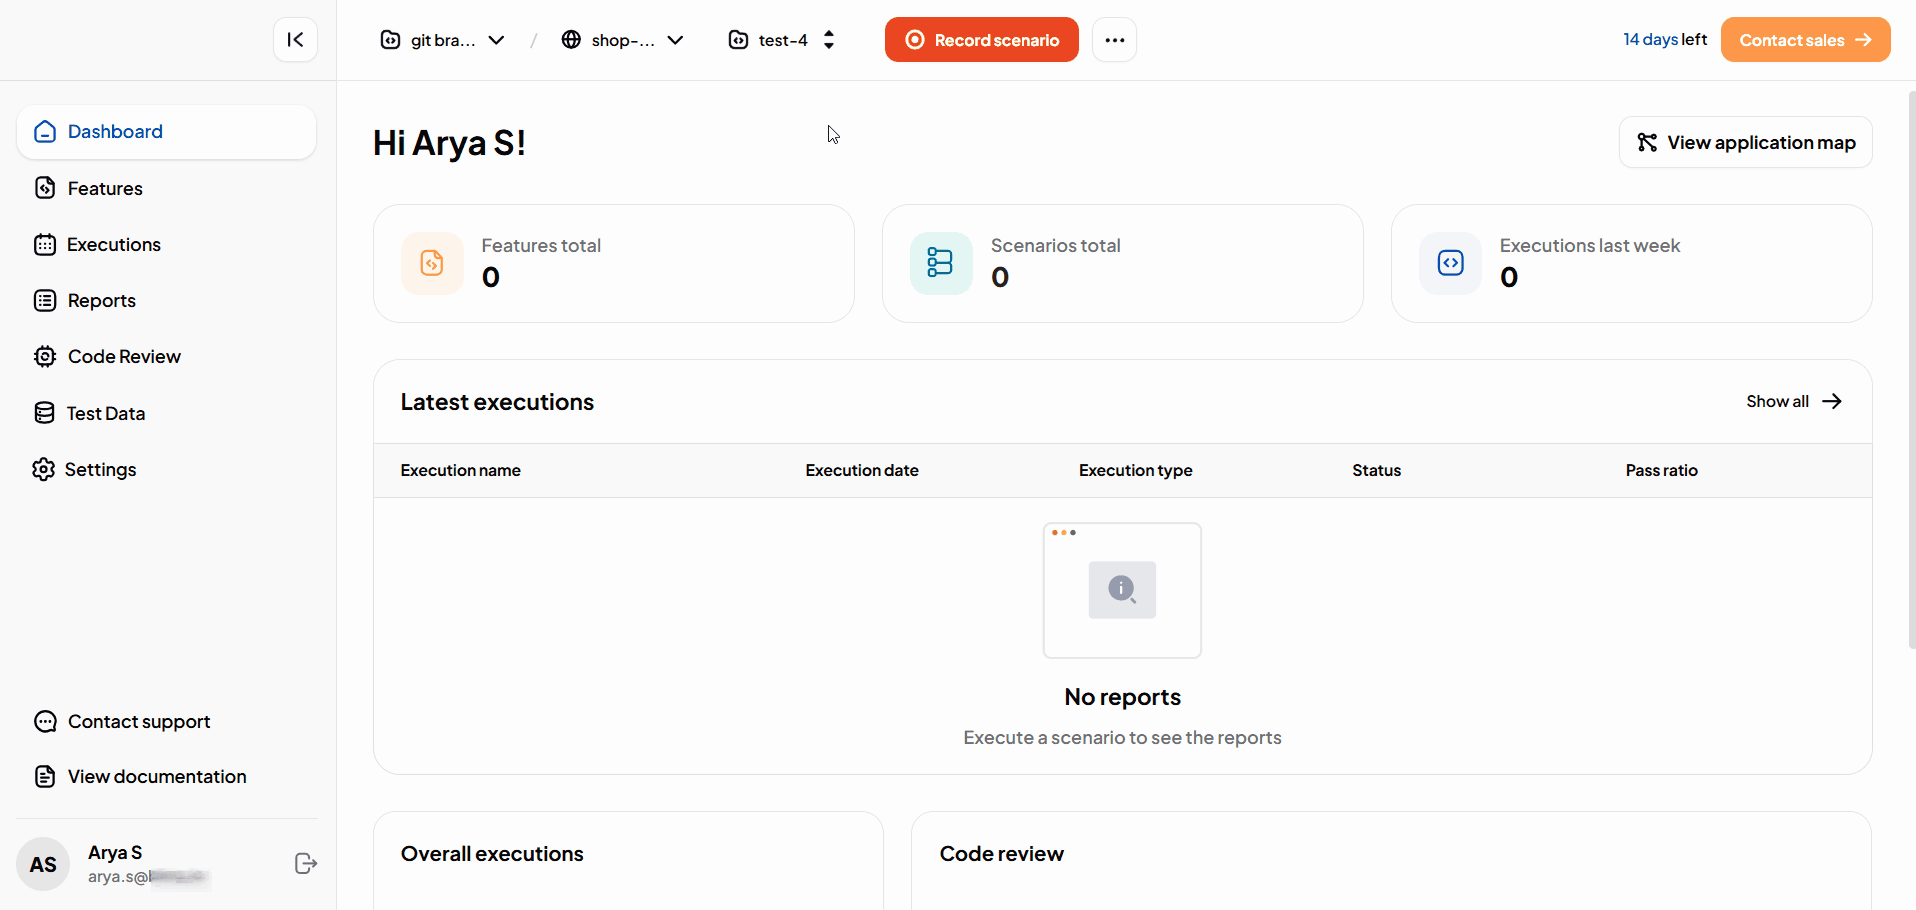
In the top bar, next to the Project and Environment selectors, you'll find the Branch selector.

NOTE
The last selected branch is saved and reopened by default the next time you open the project.
Use the dropdown to:
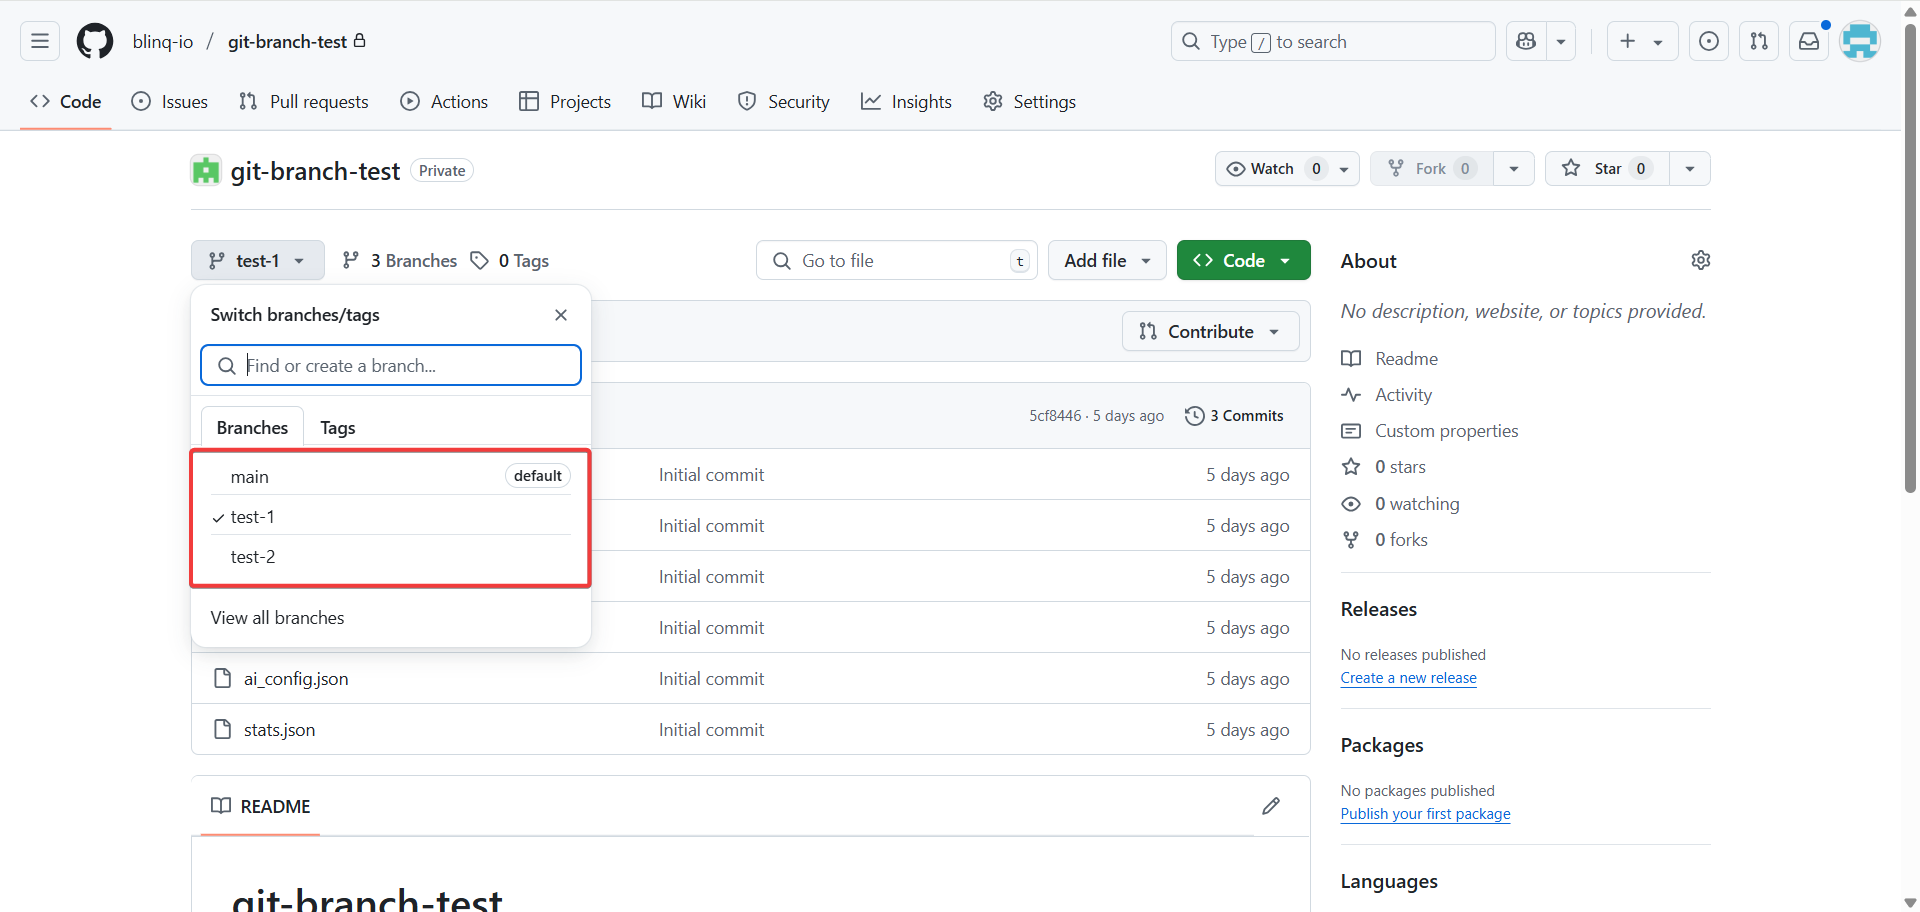
Create a new branch: Select the Source branch, enter the New Branch Name, and confirm.
Switch to an existing branch from the list.
Make Changes on a Specific Branch
After you create or switch to a branch, all changes made through the project interface apply only to that selected branch.
This includes:
- Editing or recording new scenarios
- Updating test data
- Modifying environments
- Making changes to feature files
When you edit a scenario, the underlying code is automatically updated and committed to the currently selected branch. This ensures your branch-specific logic remains consistent across both the UI and the code.
Beta Feature
This feature is currently in beta and is actively being improved. Some functionality may change over time.
Merge Your Changes
After you're done working on a branch, go to your Git provider (like GitHub, GitLab, or Bitbucket) and open a pull request to review and merge your changes into the main branch.
Note
BlinqIO doesn’t handle pull requests. You’ll need to manage PRs directly in your Git platform.