Verify Page Snapshot Assertion
Use the Verify Page Snapshot step to confirm that a section of the page remains visually consistent across test runs. The Page Snapshot Tool lets you capture multiple elements, such as labels, buttons, or inputs, into a single text-based snapshot. This helps detect unexpected UI changes in grouped sections.
Note
This assertion is available only in the Windows or Mac desktop app for AI Recorder. If you're using the web-based version, contact support at support@blinq.io to enable the desktop app for your project.
When to Use
Add this step when you want to:
- Validate that related elements appear together, for example a form with a label, input, and button.
- Ensure consistent layout or branding for important UI sections.
- Capture and verify part of the UI without checking each element one by one.
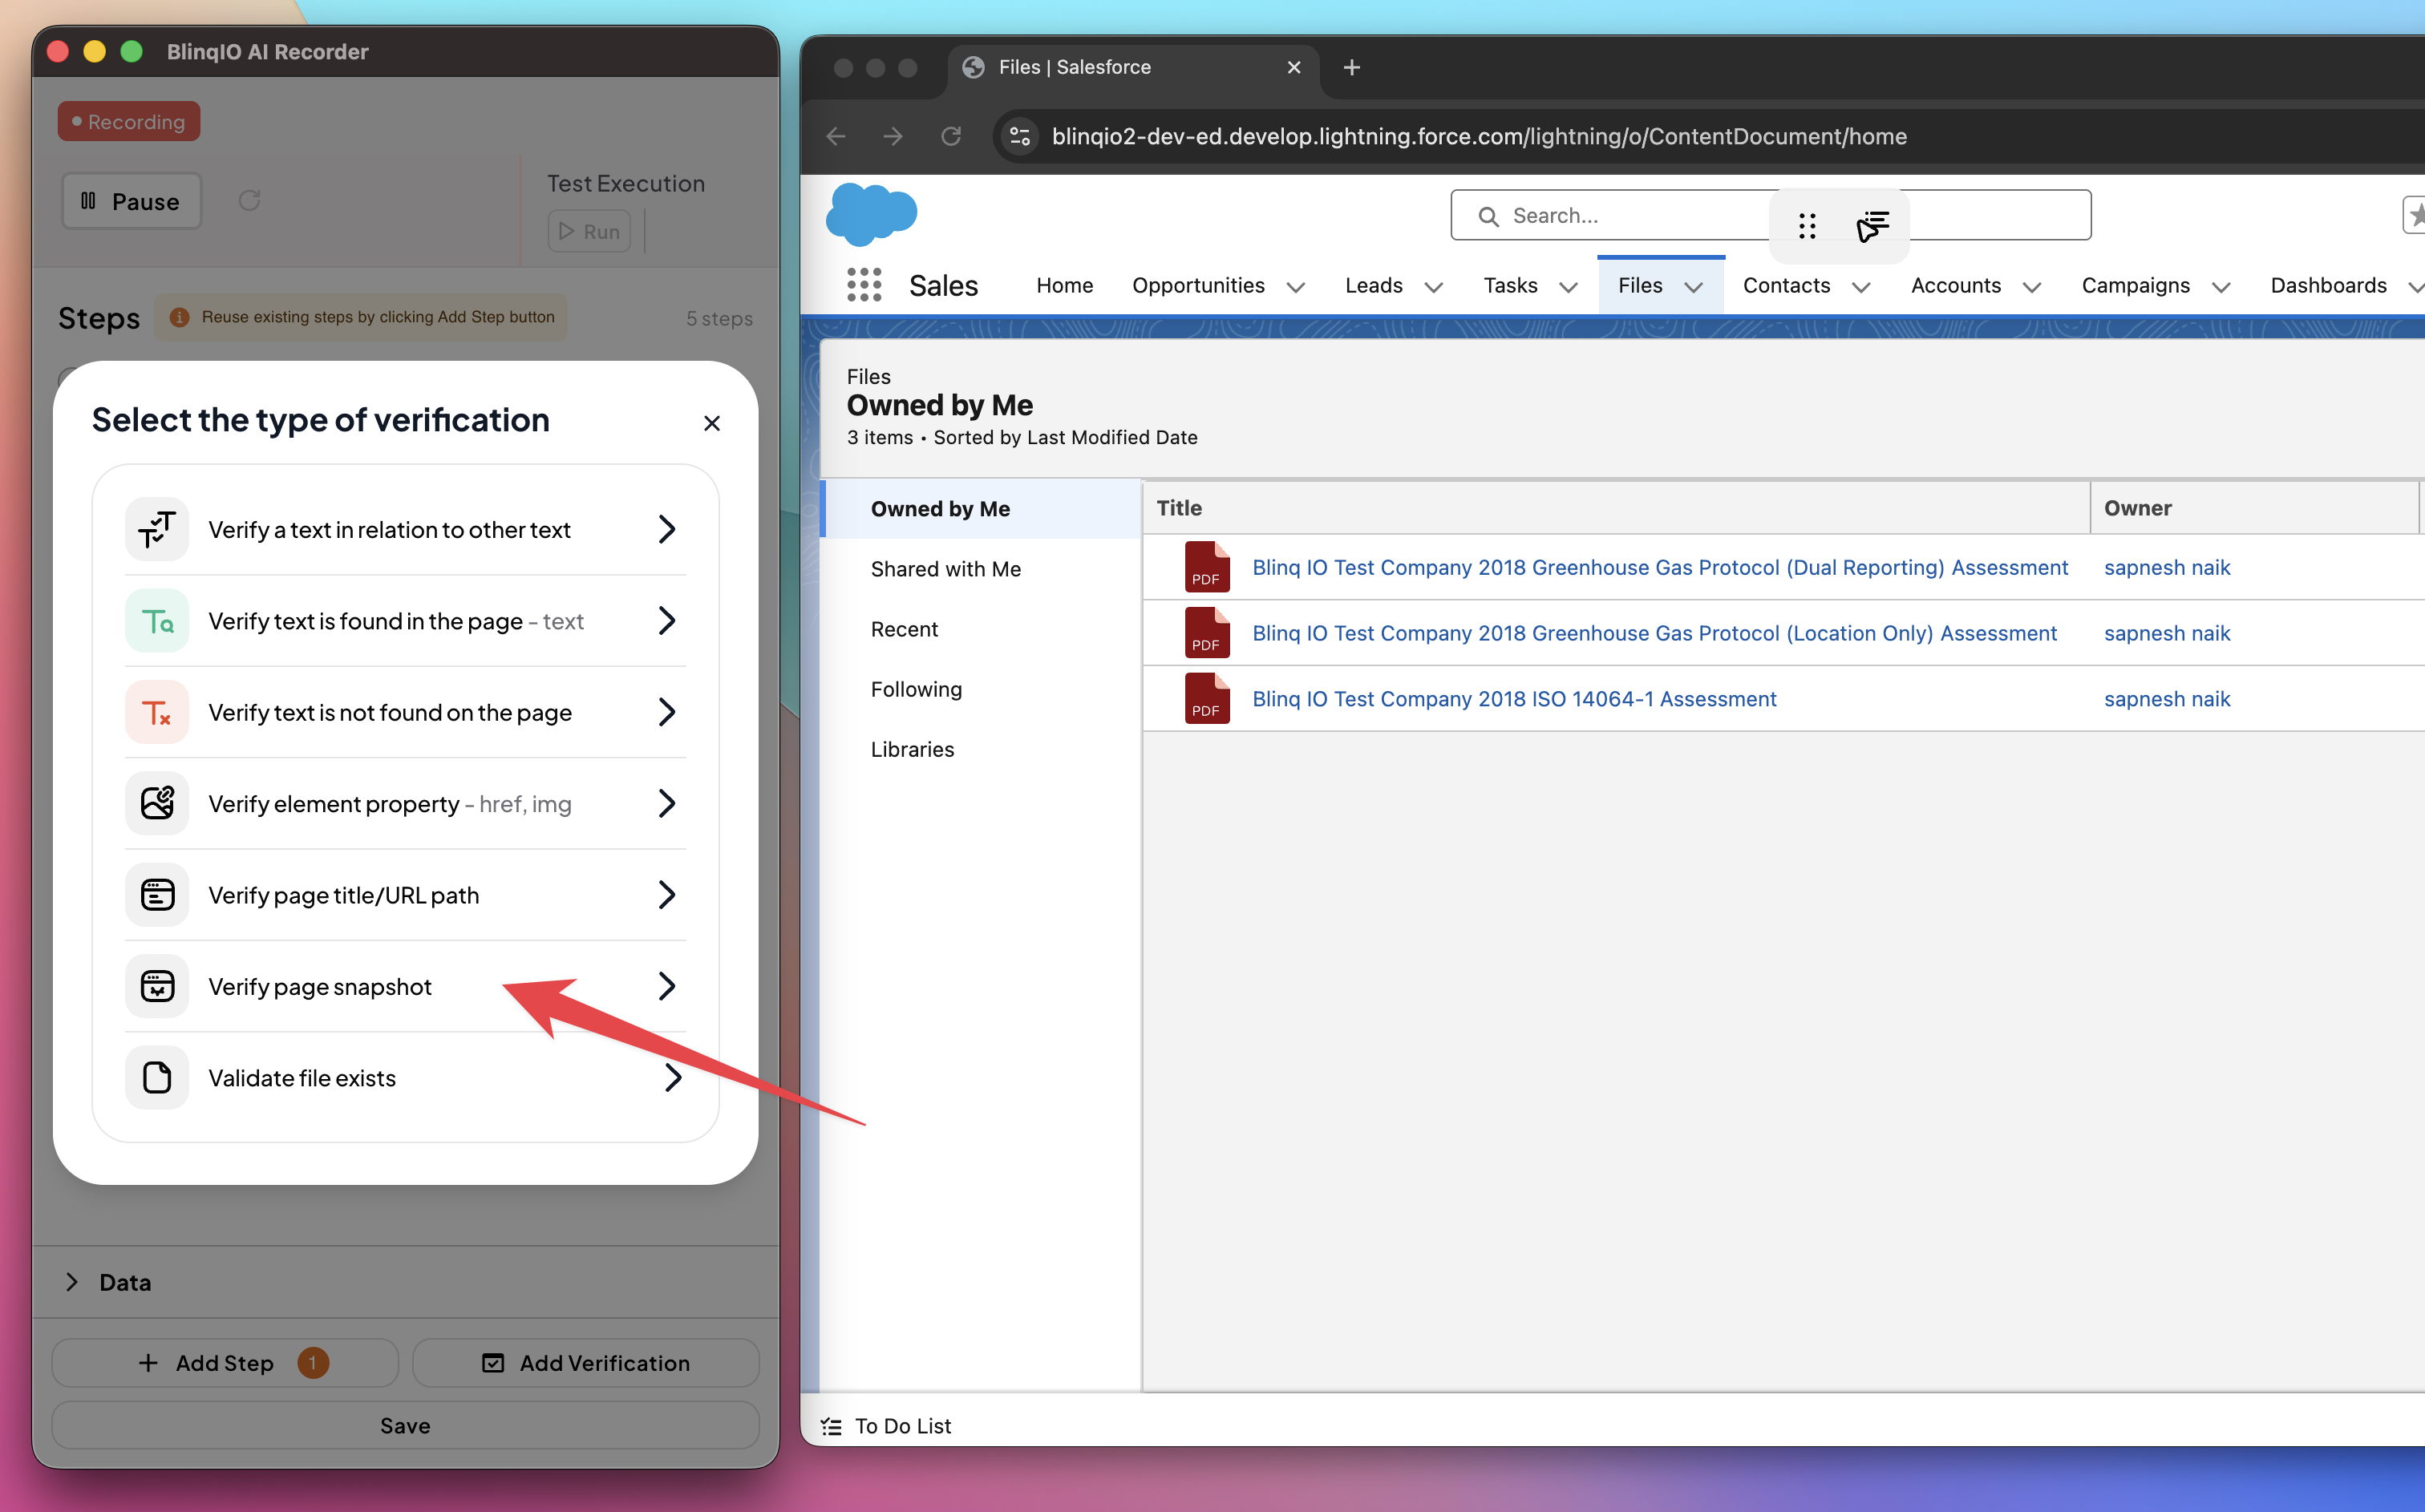
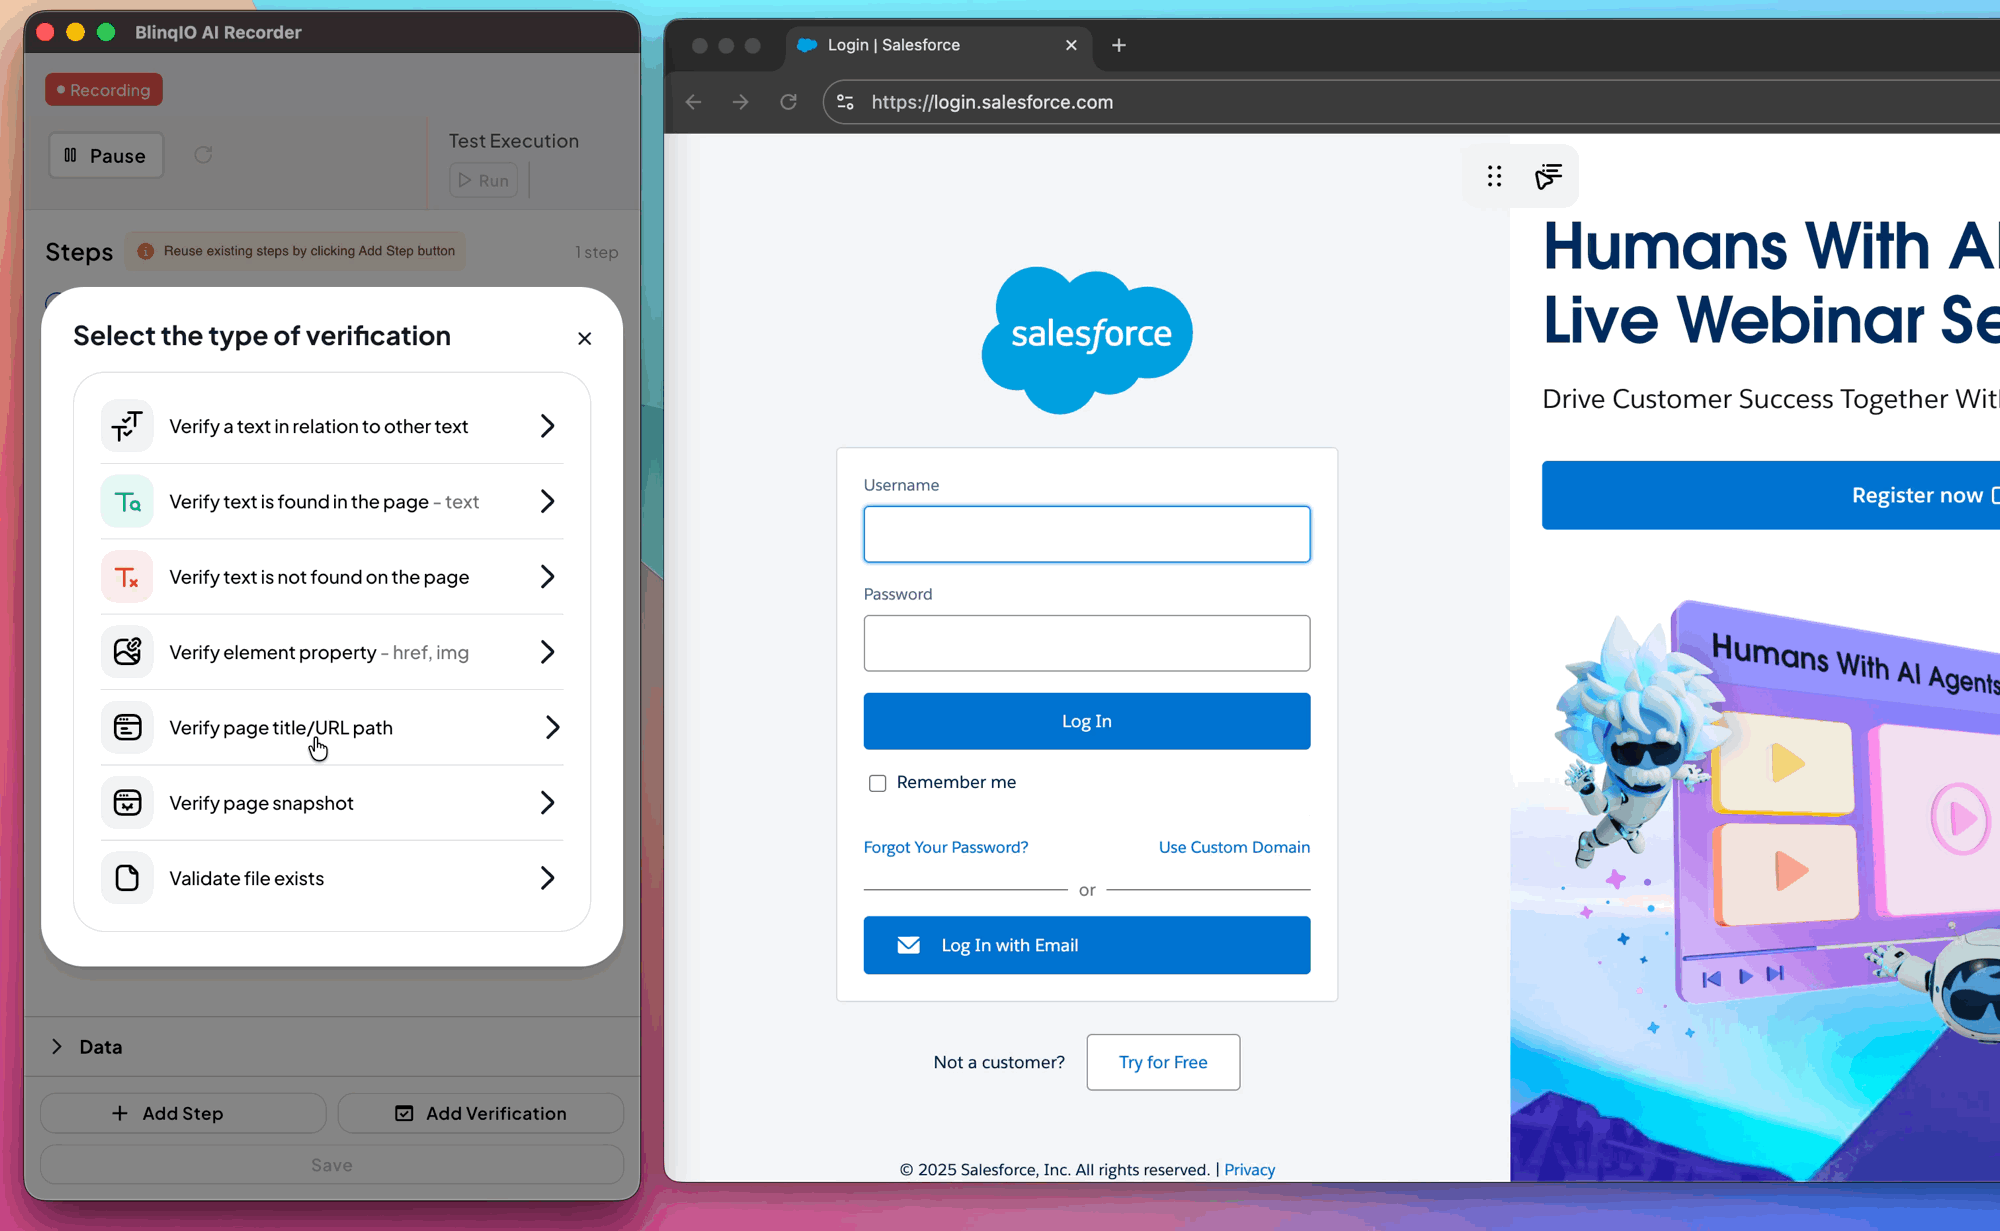
How to Add a Verify Page Snapshot Step
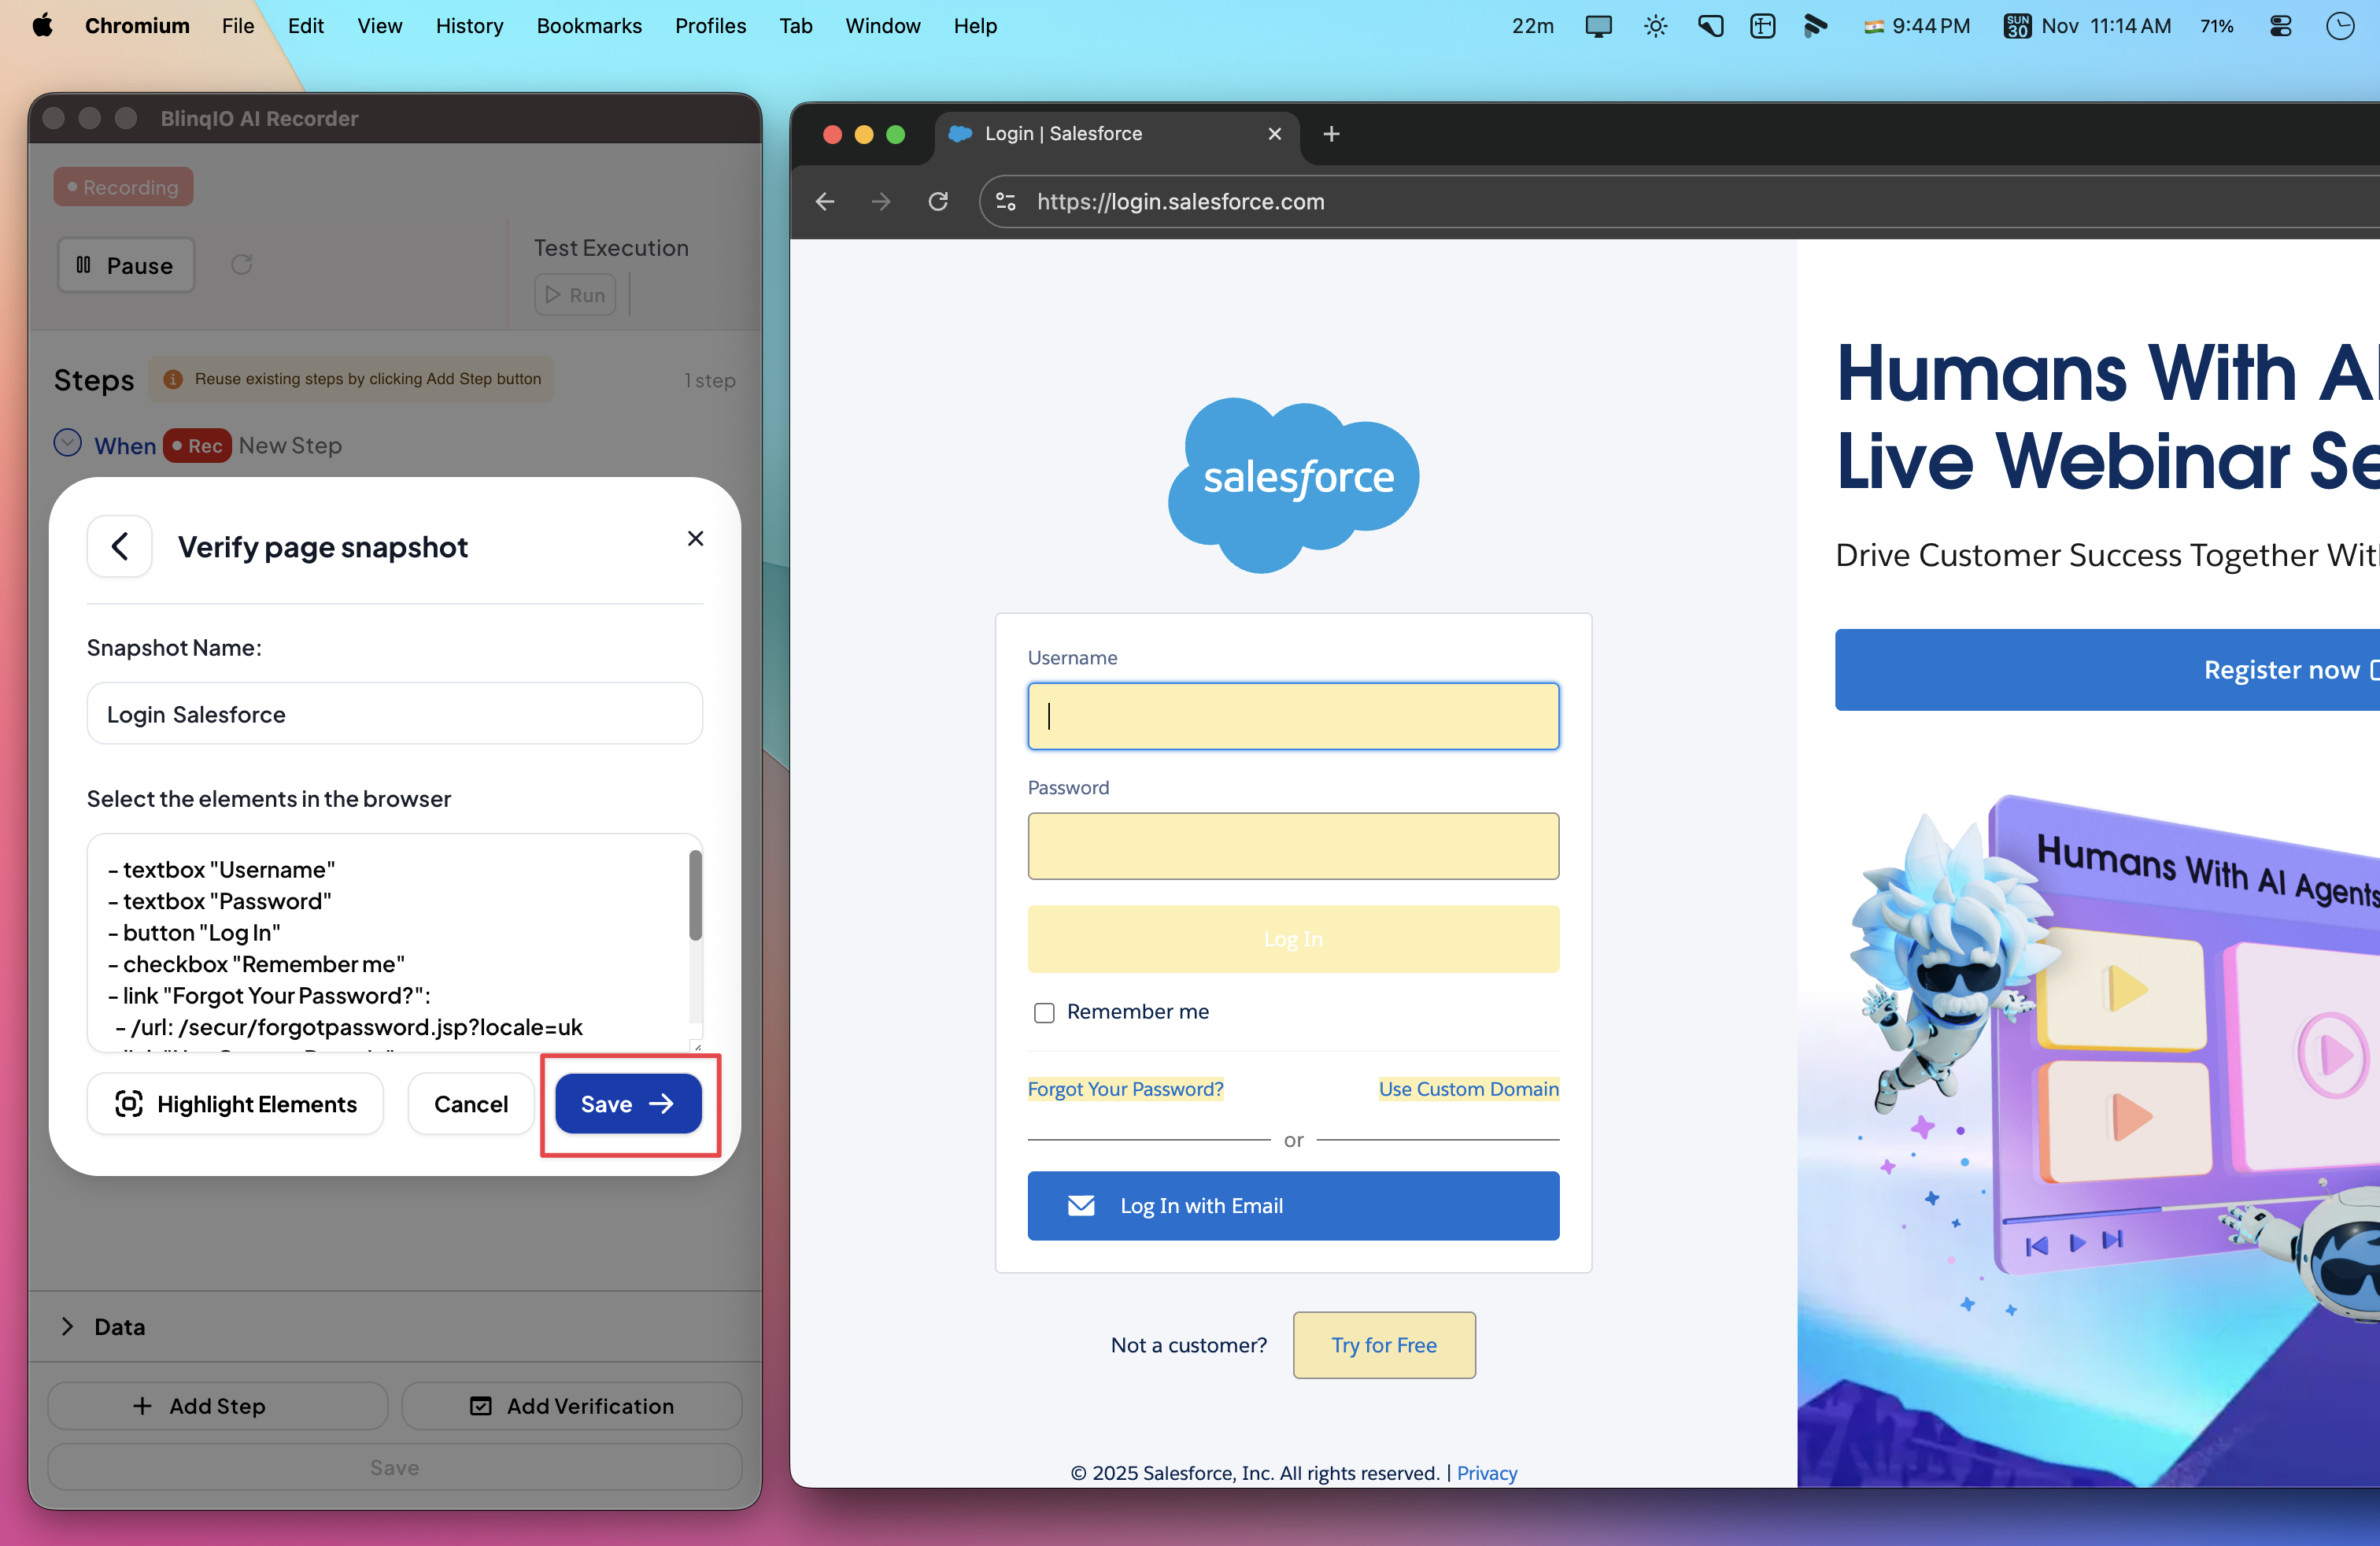
While recording, click the Add a Verification Step icon.
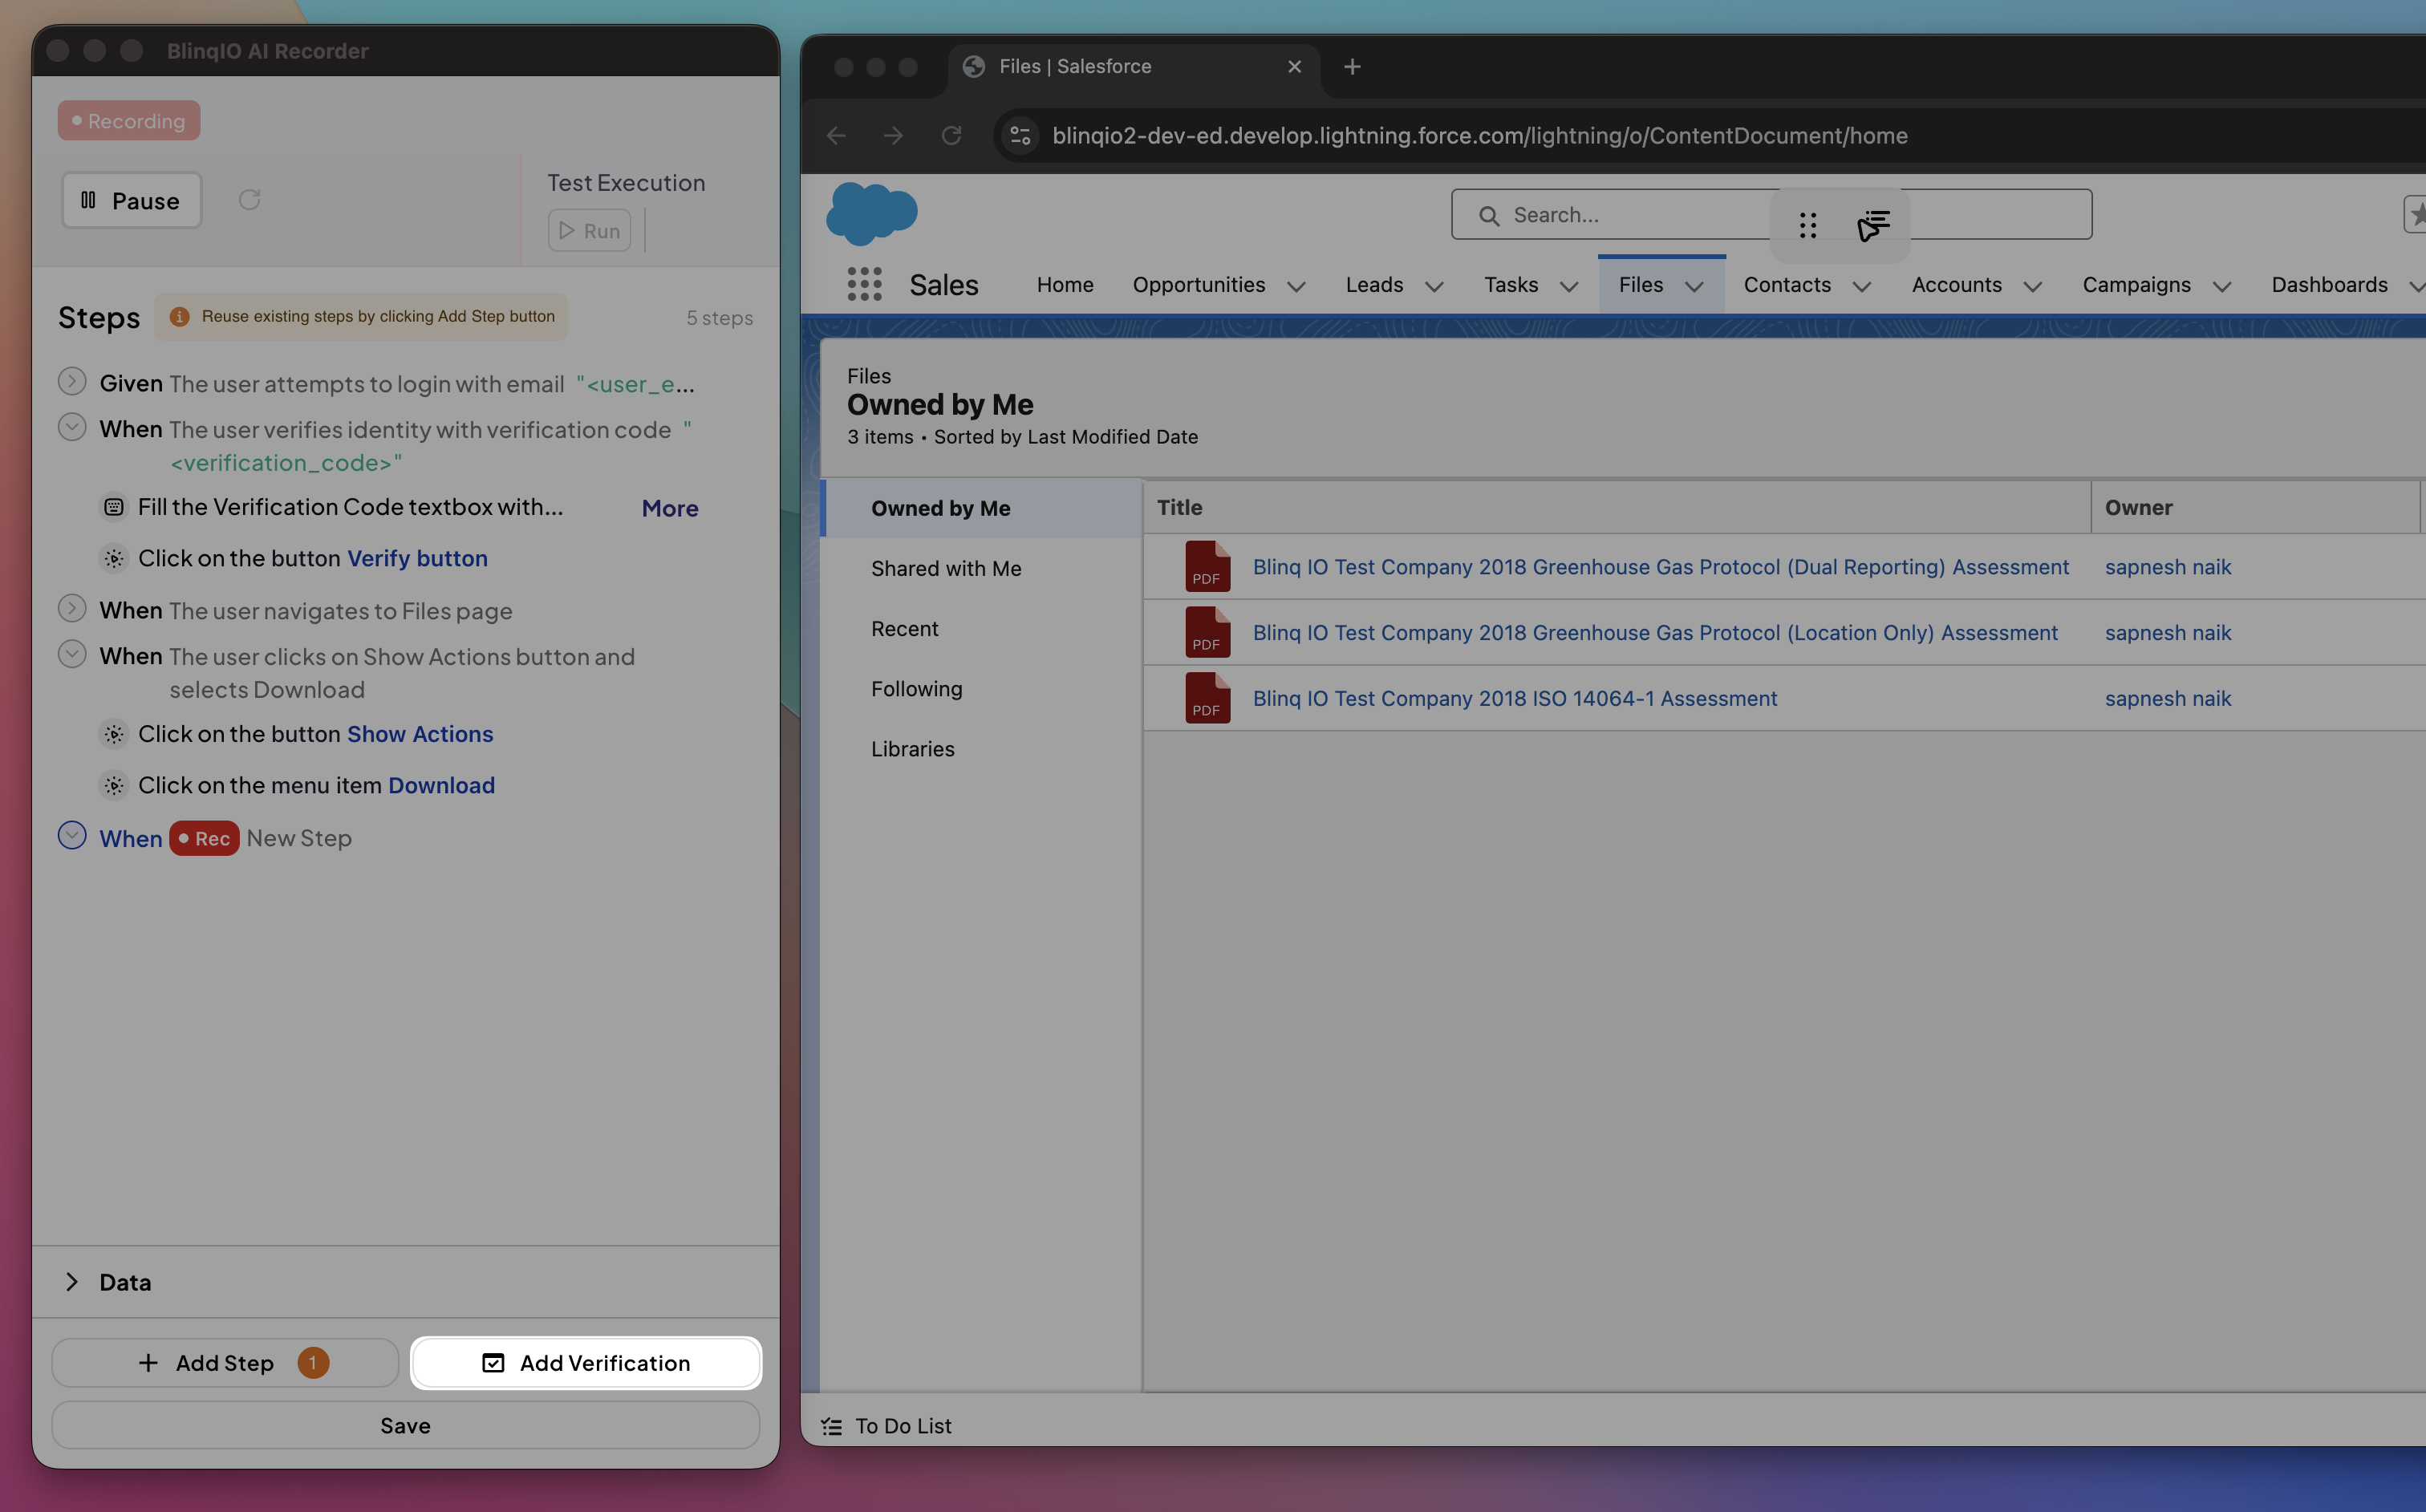
Select Verify page snapshot.
In the browser, click and select the elements you want to include. Examples: headings, text blocks, images, or buttons.
Use Highlight Elements to visually confirm your selection.
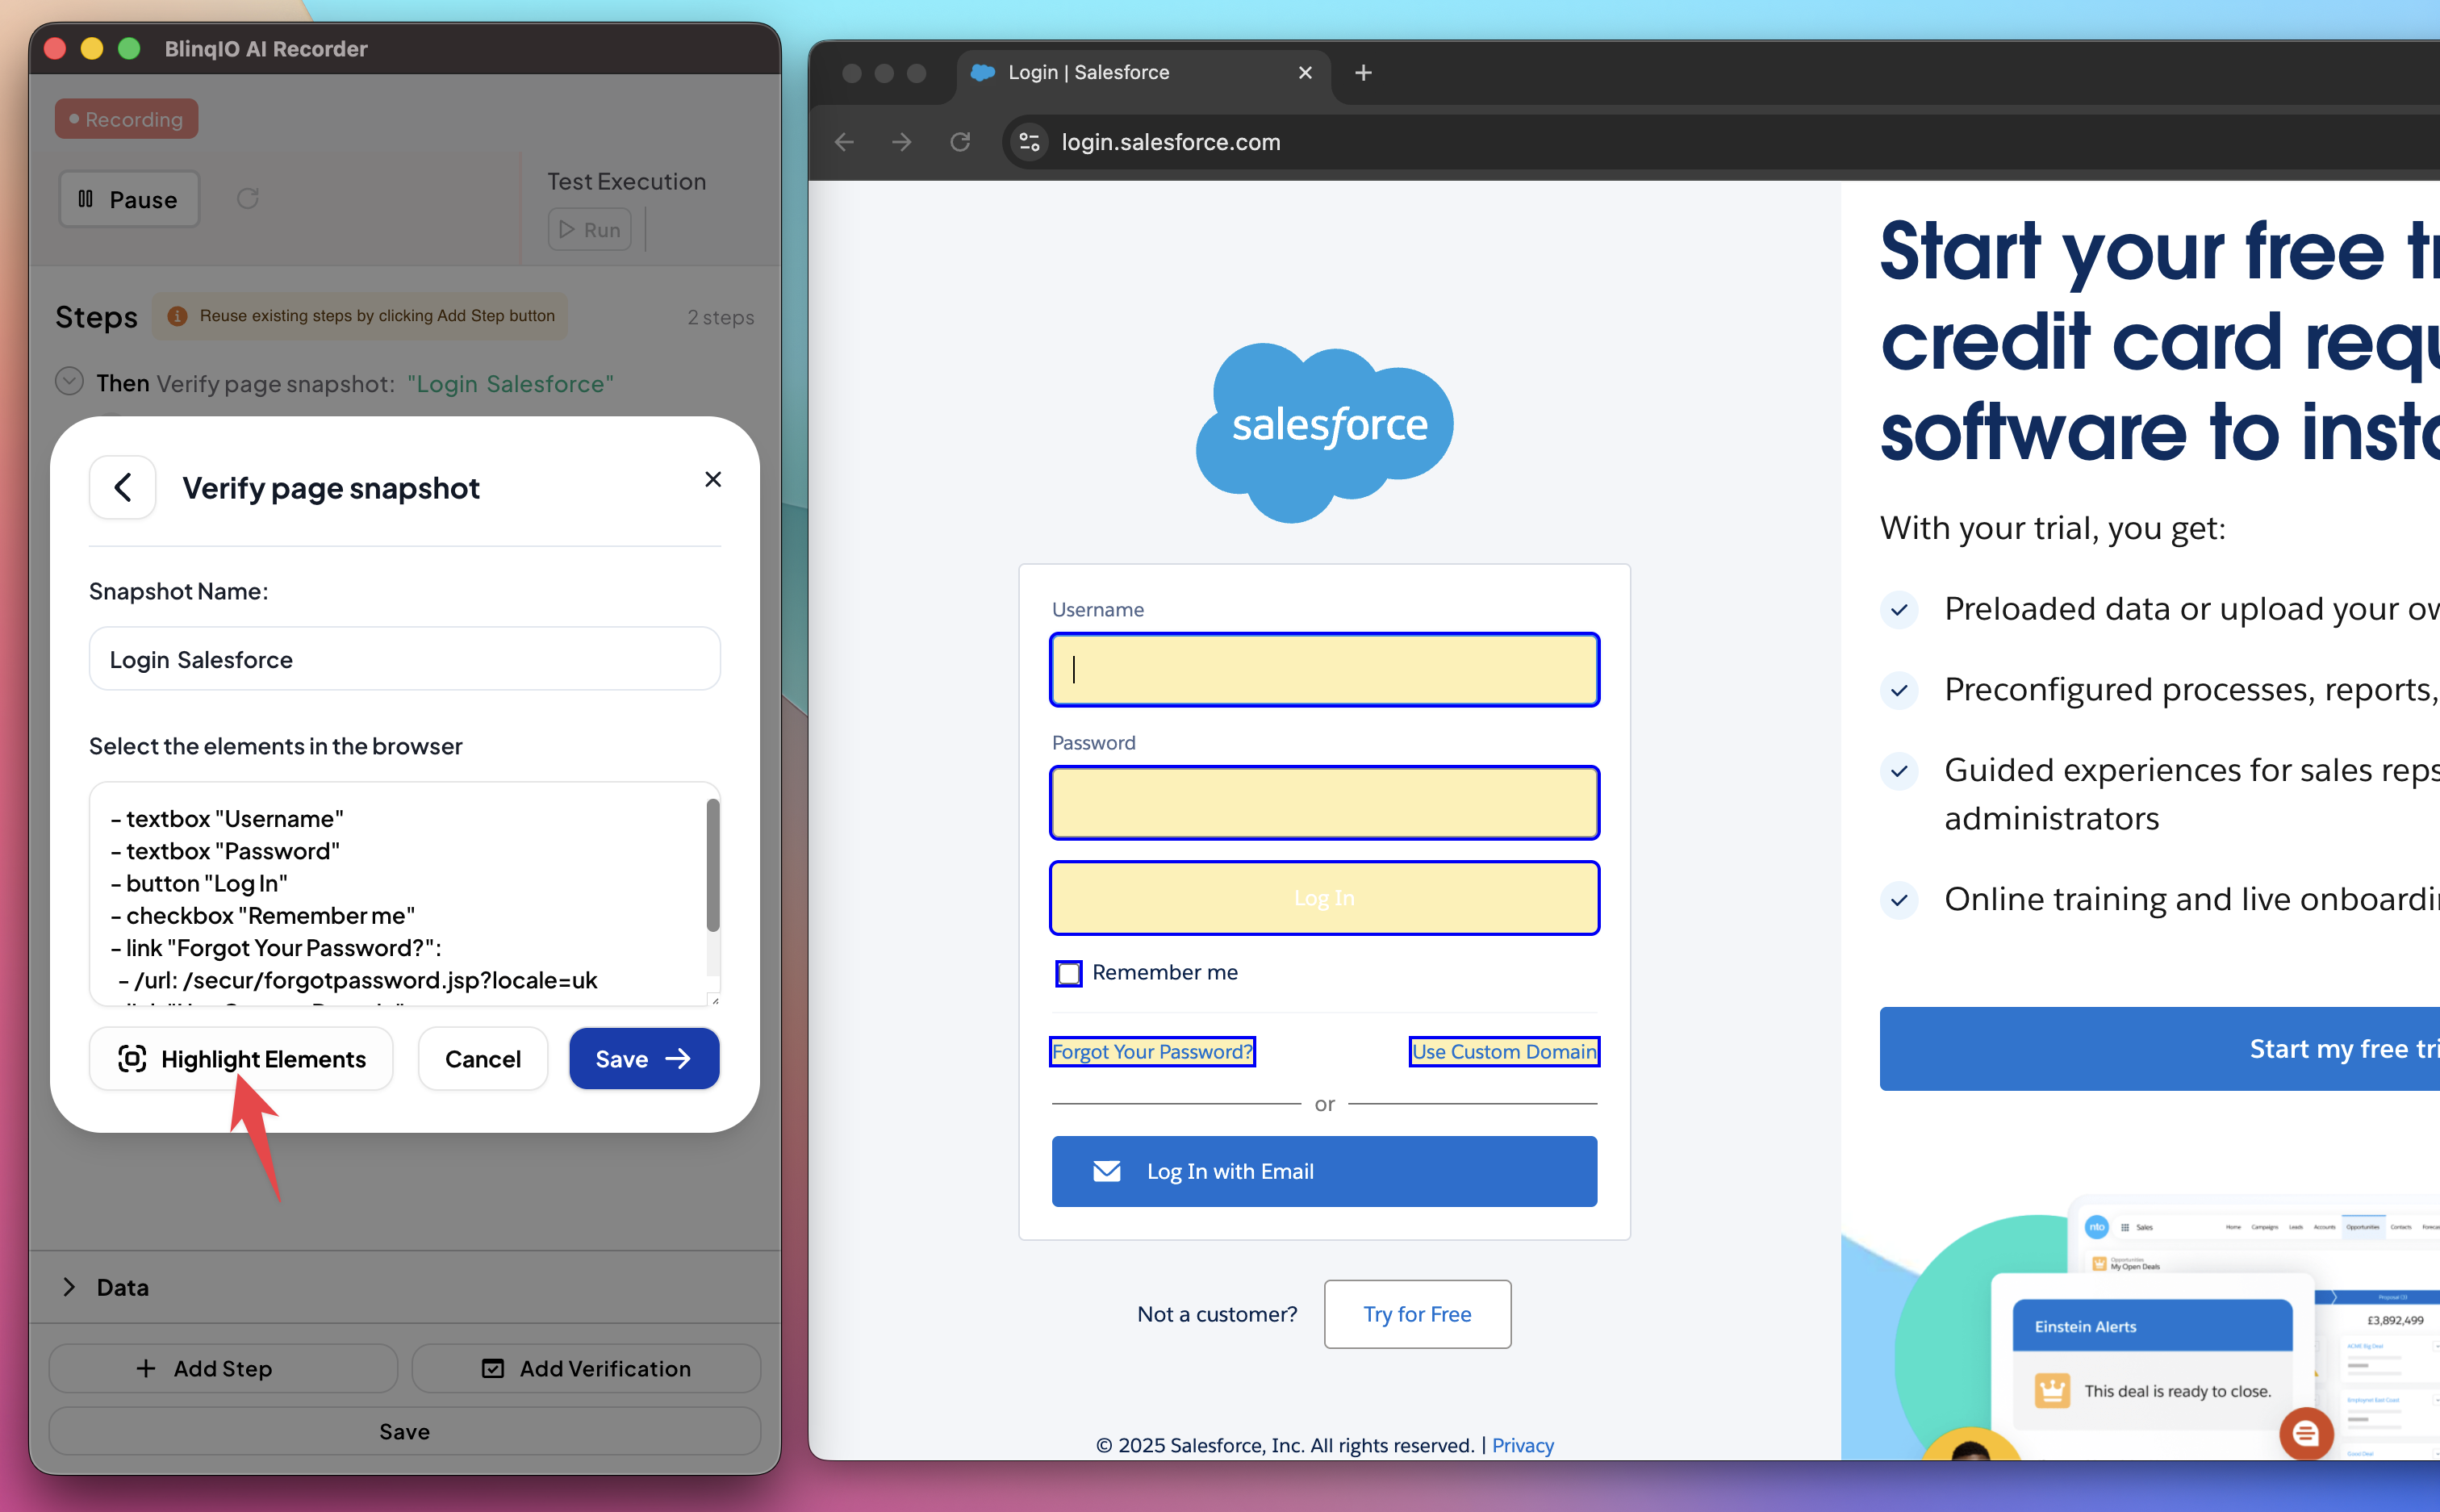
Once you are satisfied with the selection, click Save to add the verification step.
The snapshot step is added to the scenario and appears in the Recorder view: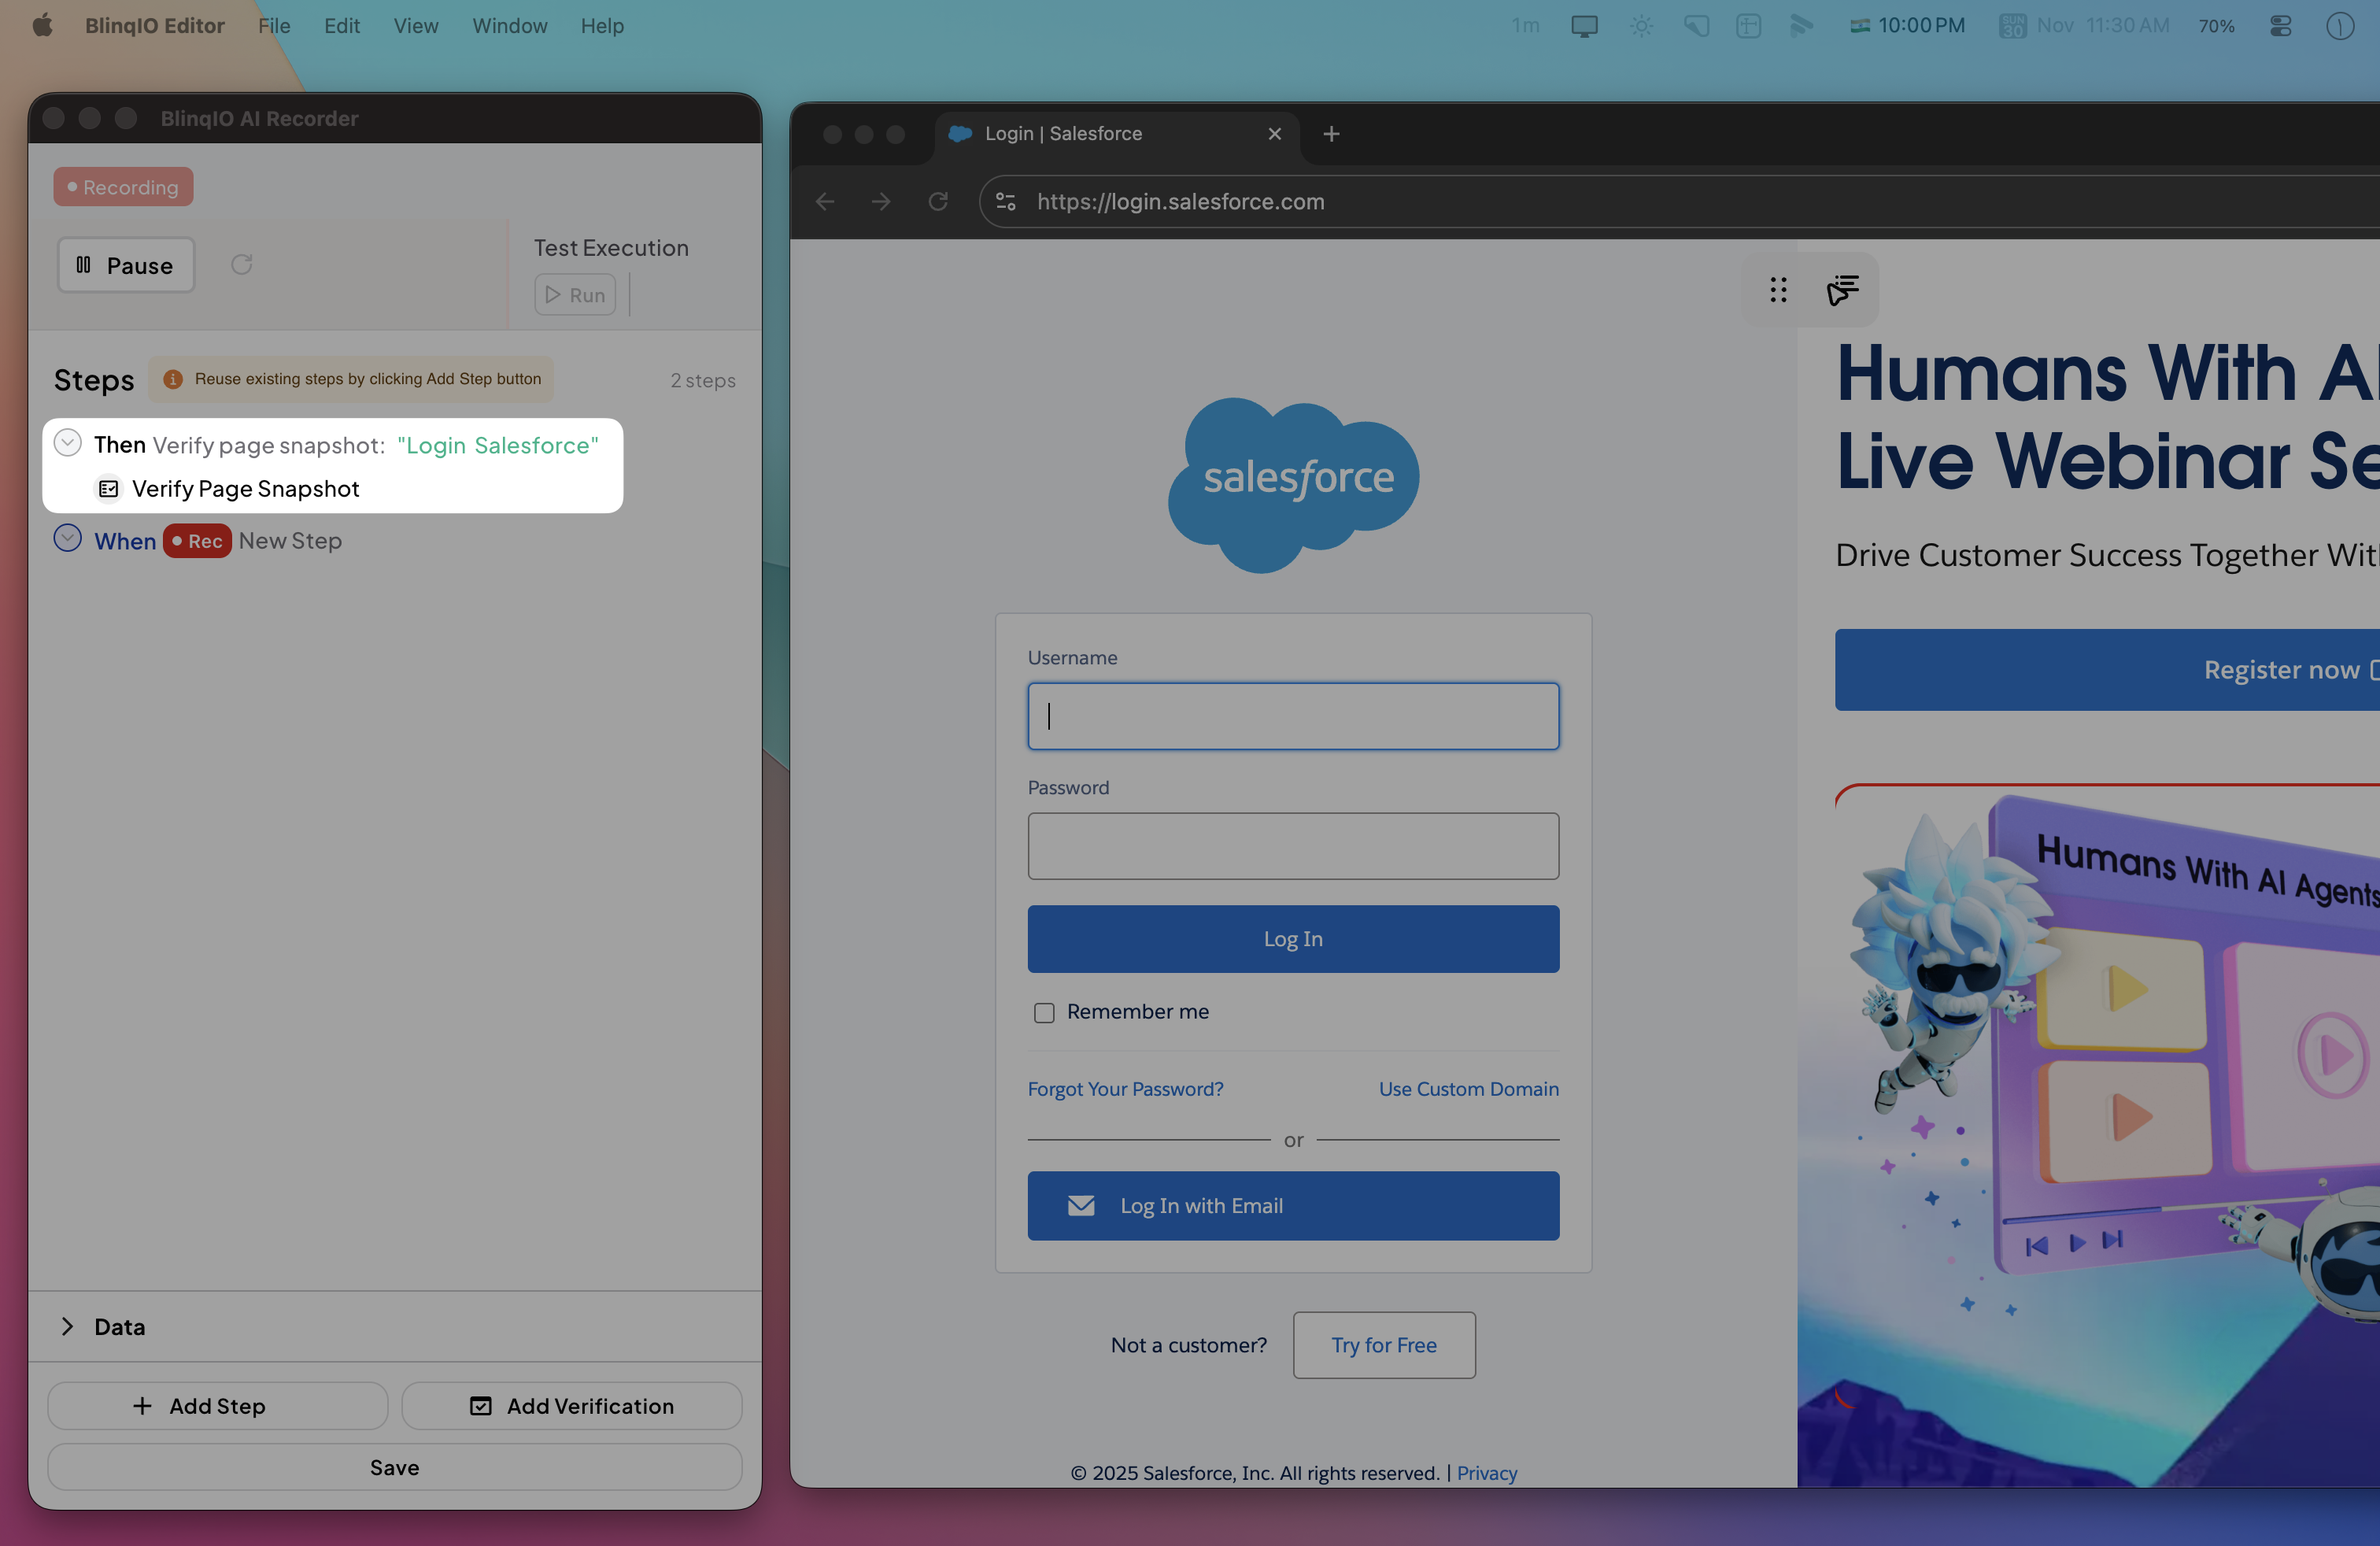
You can also see it in the Features page: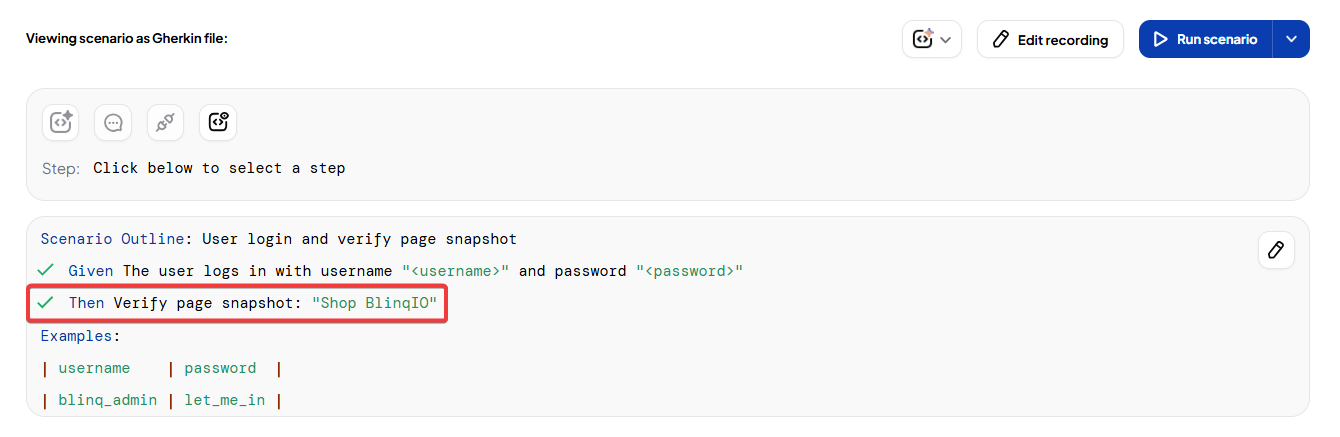
After running the scenario, review the verification results in the Reports page: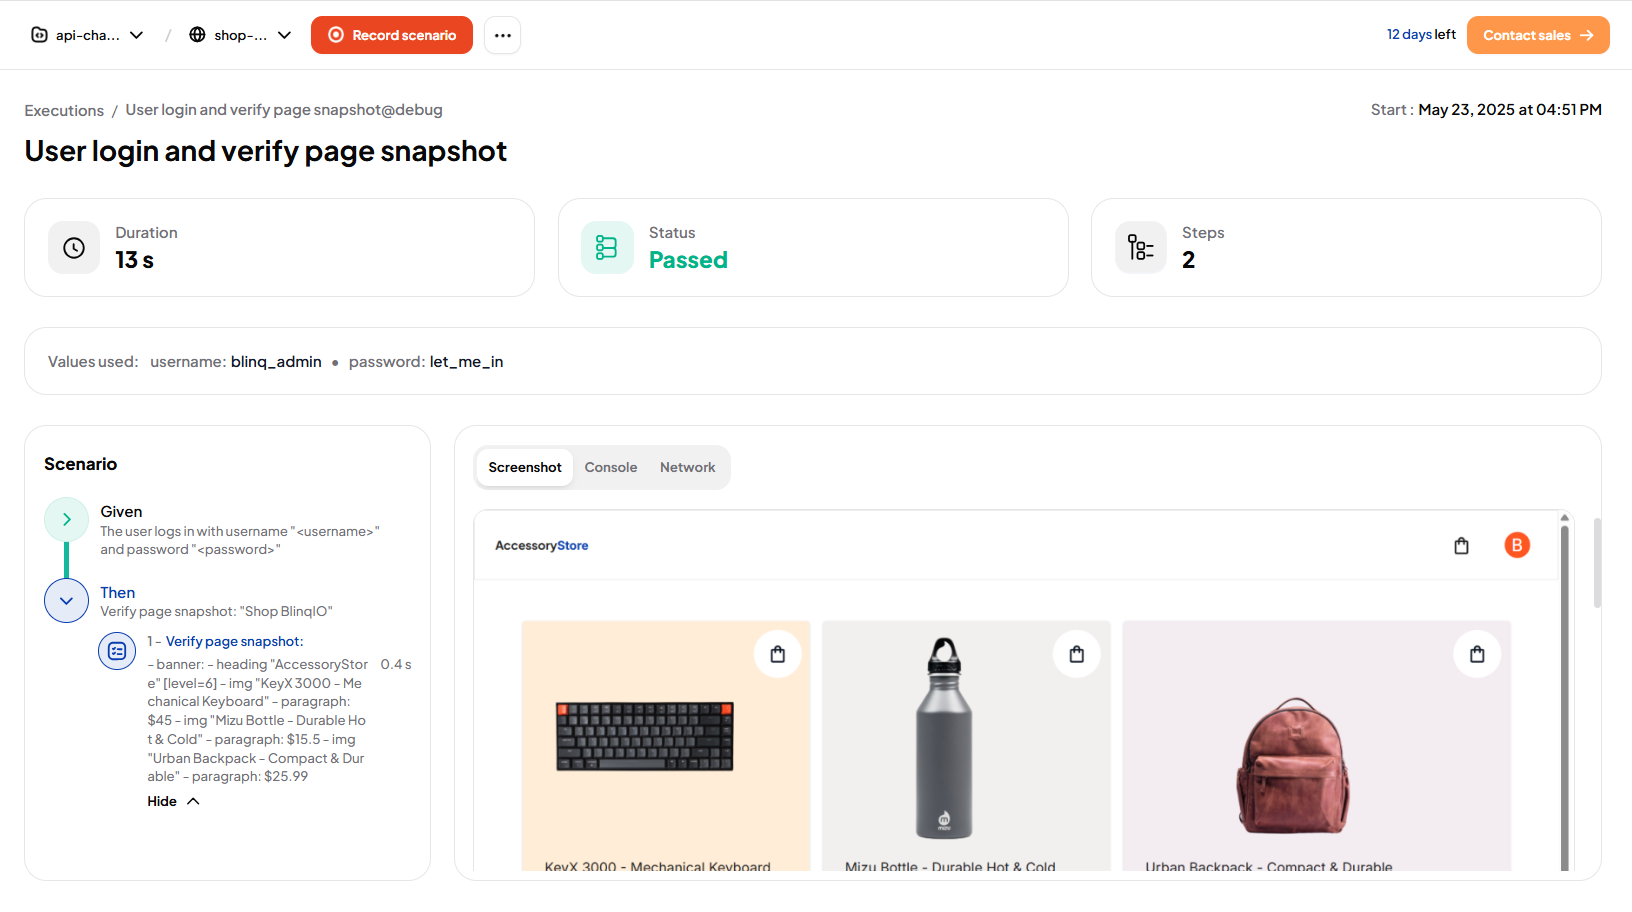
Best Practices
- Use snapshots for structured regions, like forms or toolbars, rather than for entire pages.
- Keep snapshots focused and minimal. Large snapshots may make test maintenance harder when minor UI changes occur.
- Combine snapshots with text or property verification to validate both layout and content accuracy.
- Re-capture snapshots if the UI changes intentionally, to avoid false positives in future runs.