Automating File Uploads
The AI Recorder can record file upload actions in your test scenarios. This allows you to cover real-world flows such as uploading documents, images, or other files in forms.
Prepare Files for Upload
Before recording the test, we'll place the files to be uploaded in the data/uploads folder. This ensures these files are part of the project code and can be accessed even when your tests run in the BlinqIO cloud or external CI/CD pipelines.
Click the three-dot button at the top and open your project in VS Code.

See Open Projects in VS Code for detailed instructions.Create a new
uploadsfolder in thedatafolder:
Place the files you want to upload (e.g.,
.pdf,.png,.csv) in theuploadsfolder.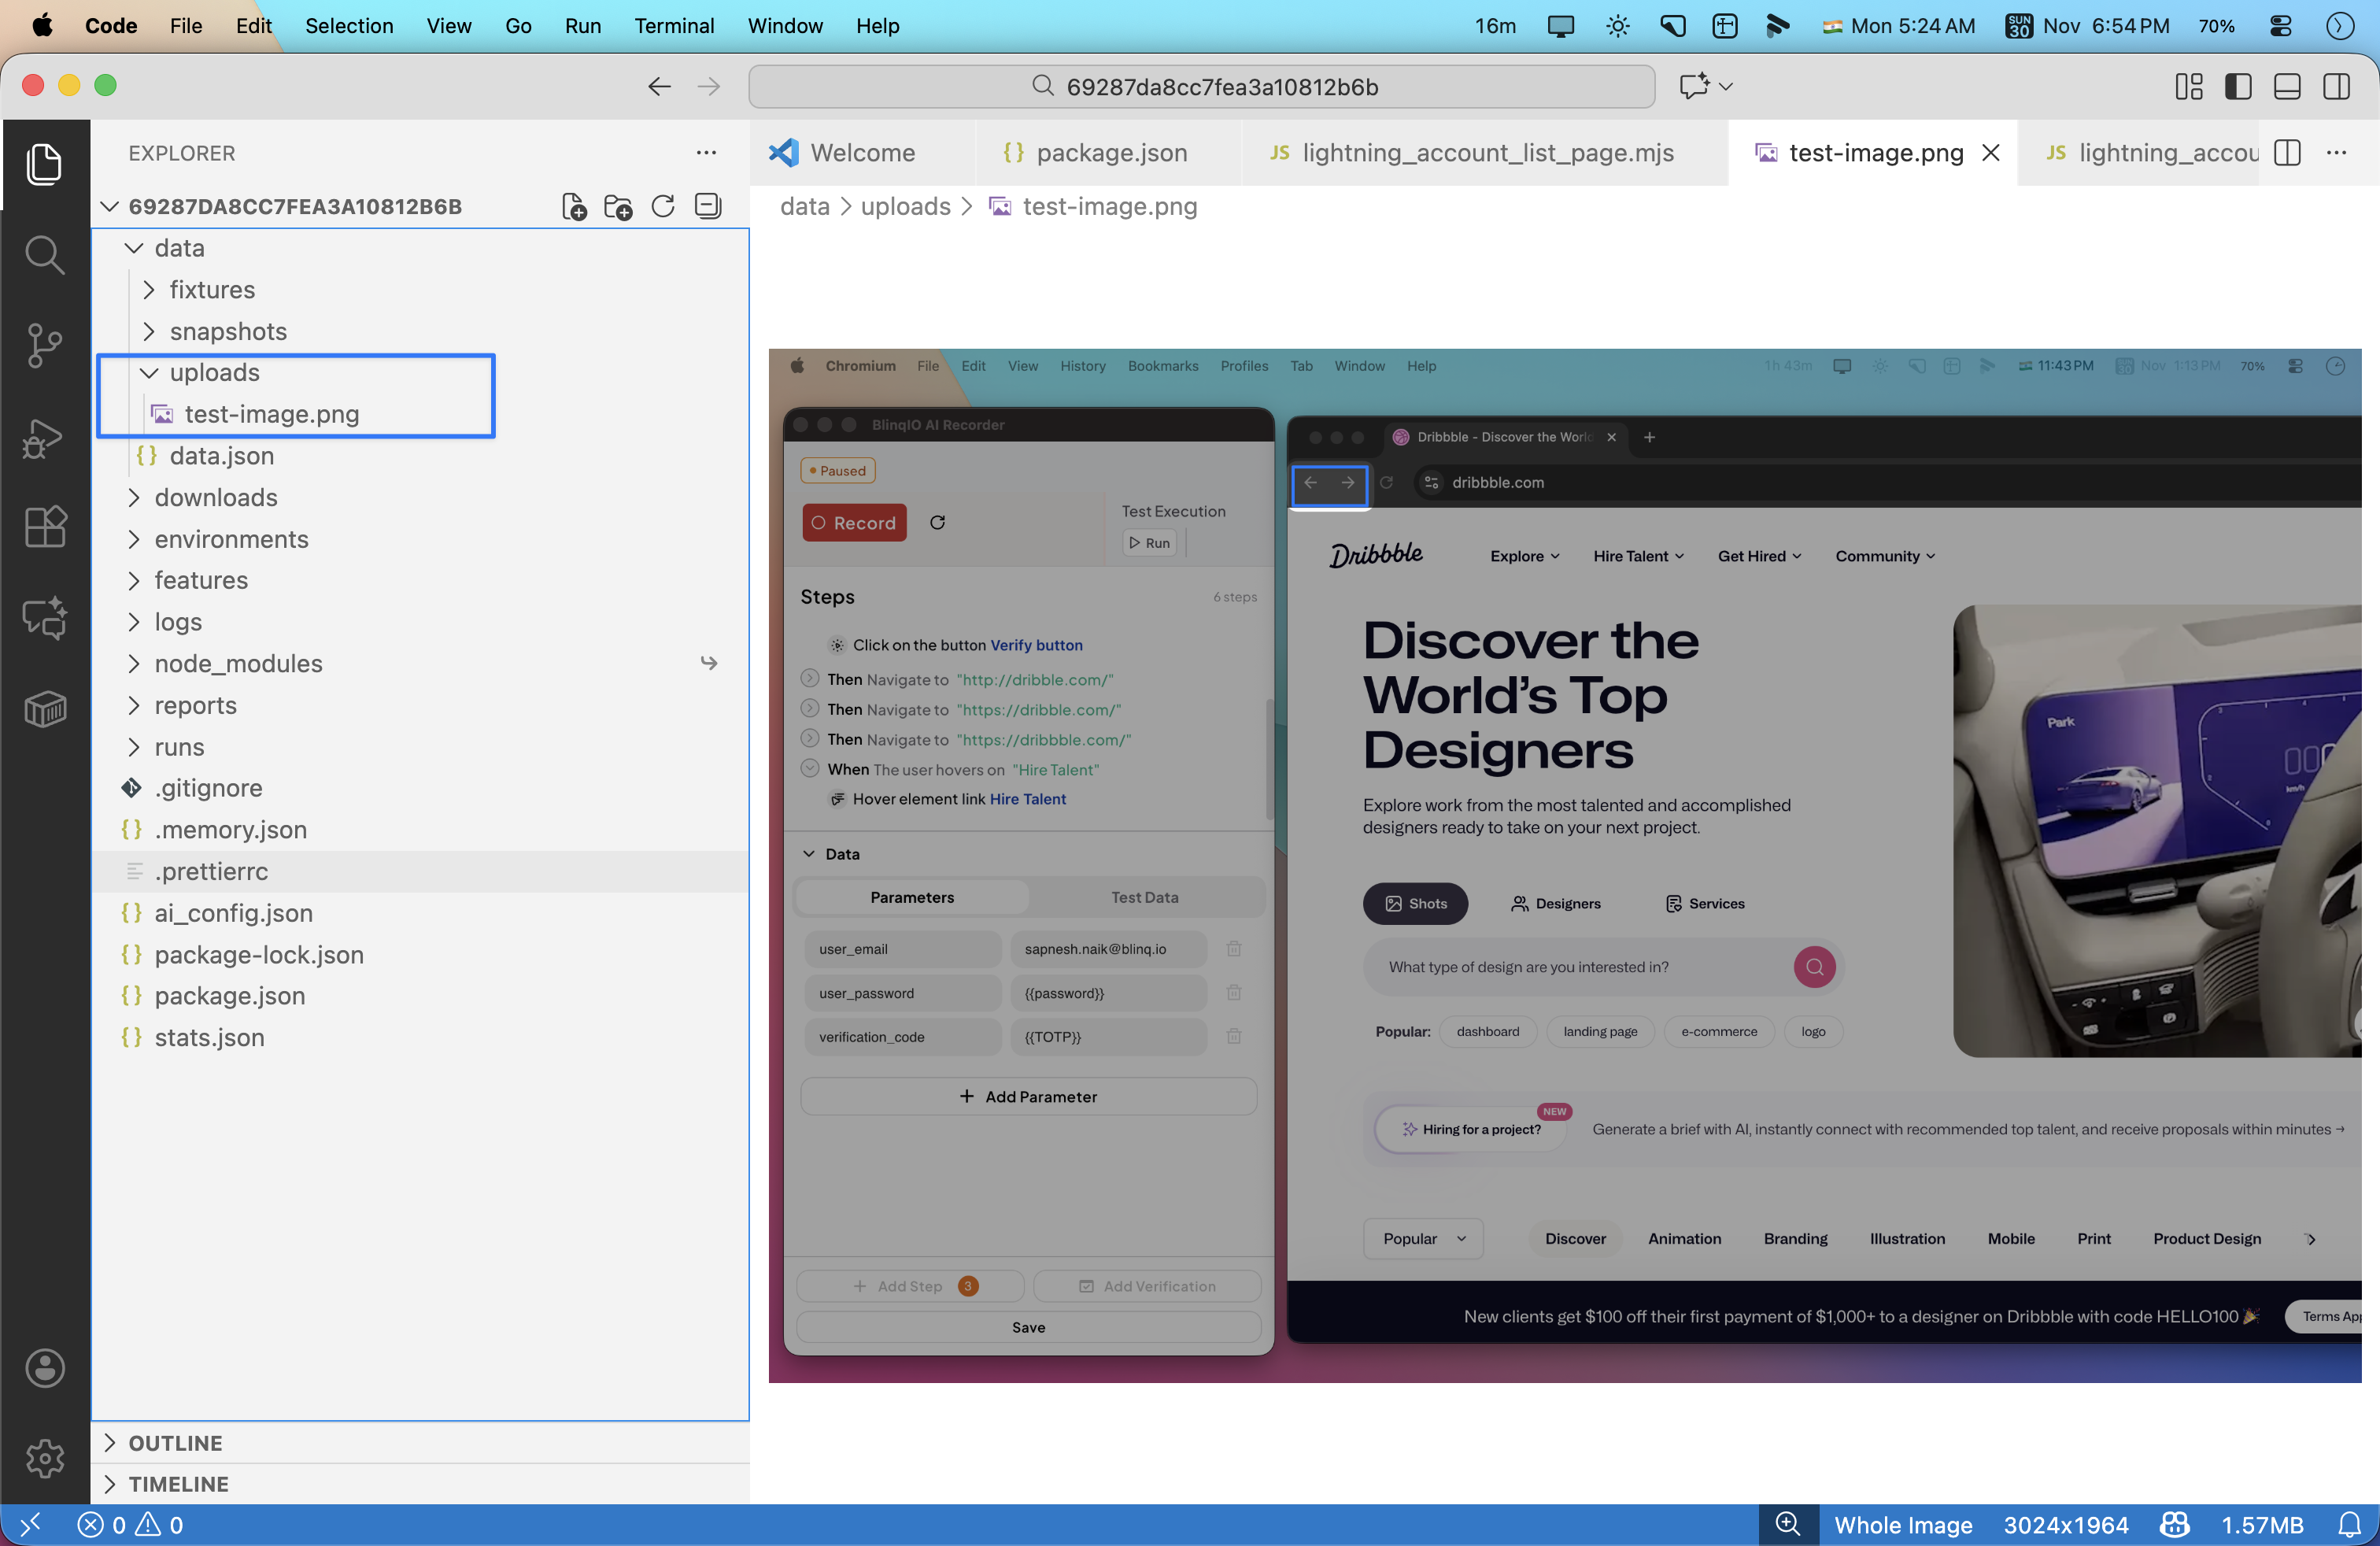
Note
Use clear, consistent filenames to keep test data organized.
Record the File Upload Step
In the AI Recorder, click the upload input (such as Choose File or Upload), this brings up the system file picker.
In the system file picker, navigate to your
project folder>data>uploadsand select your file. The AI Recorder automatically detects this action and records it as a file upload step.
Continue recording the rest of your scenario as needed and save your test. The test code along with the file in the
data/uploadsfolder will be committed to your project's git repository.
Note
If the file is open or locked in another program, the upload may fail. Close the file before recording or running the scenario.
Run and Verify the Upload
When you run the scenario, the AI Recorder reads the file from the uploads folder and performs the upload automatically.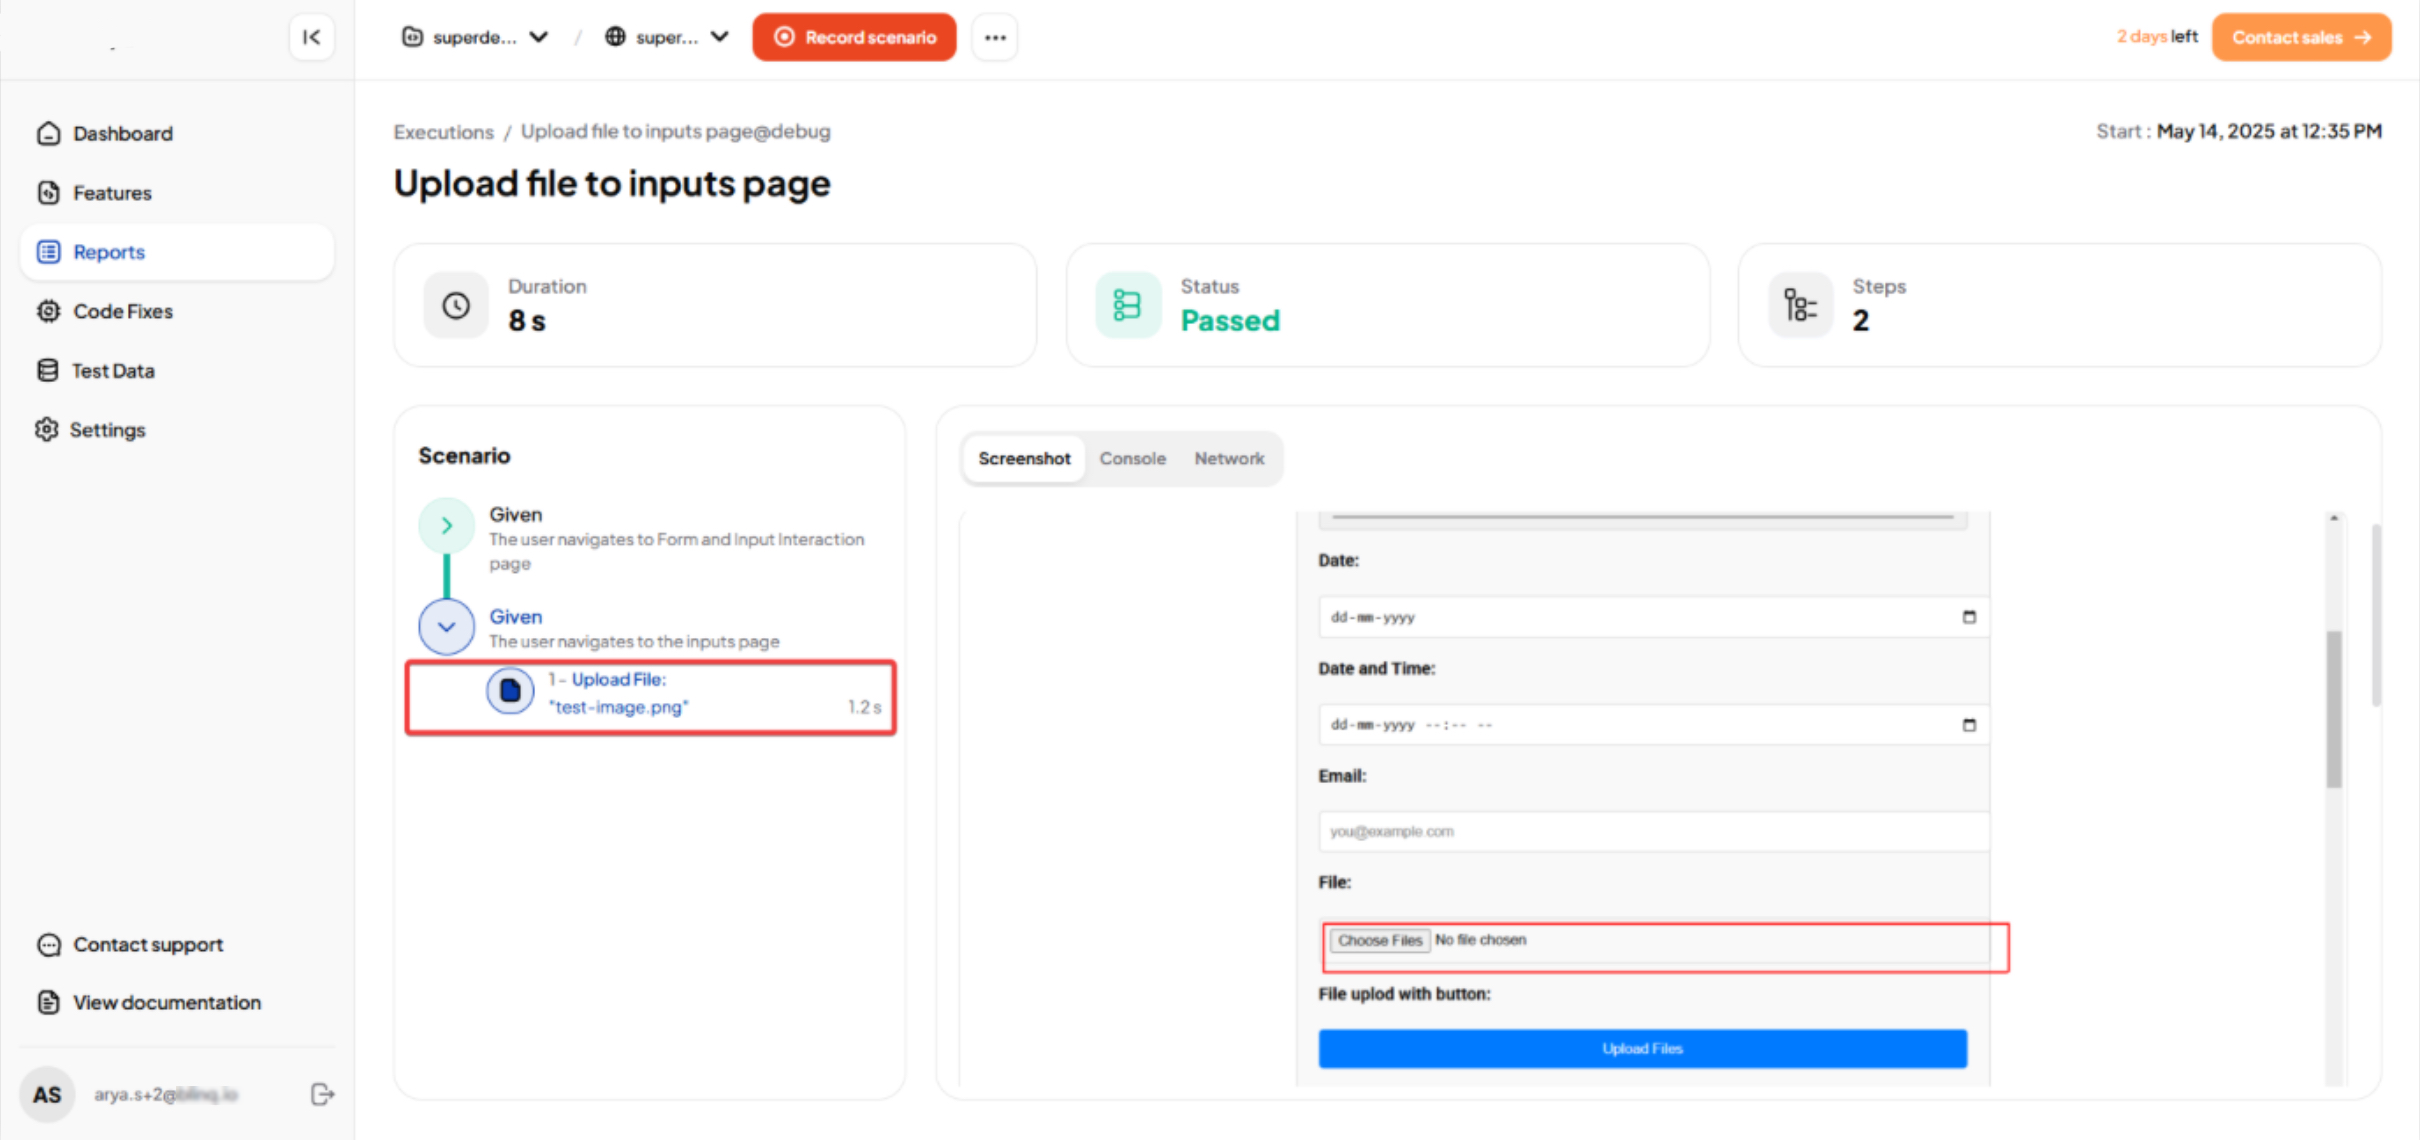
Best Practices
- Use small, representative files to reduce run times.
- Avoid changing or renaming files once recorded, or the upload step may break.
- Keep test data separate from production data to prevent accidental misuse.