Schedule Executions in BlinqIO Cloud
The BlinqIO Cloud Execution platform enables you to run your tests on our dynamic environments, which support various provisioned server browsers (Chrome, Firefox, Safari) and platforms (Windows, Linux).
The execution platform supports advanced features, including parallel test execution, fine-grained scheduling, and configuring the order of test runs based on tags and features.
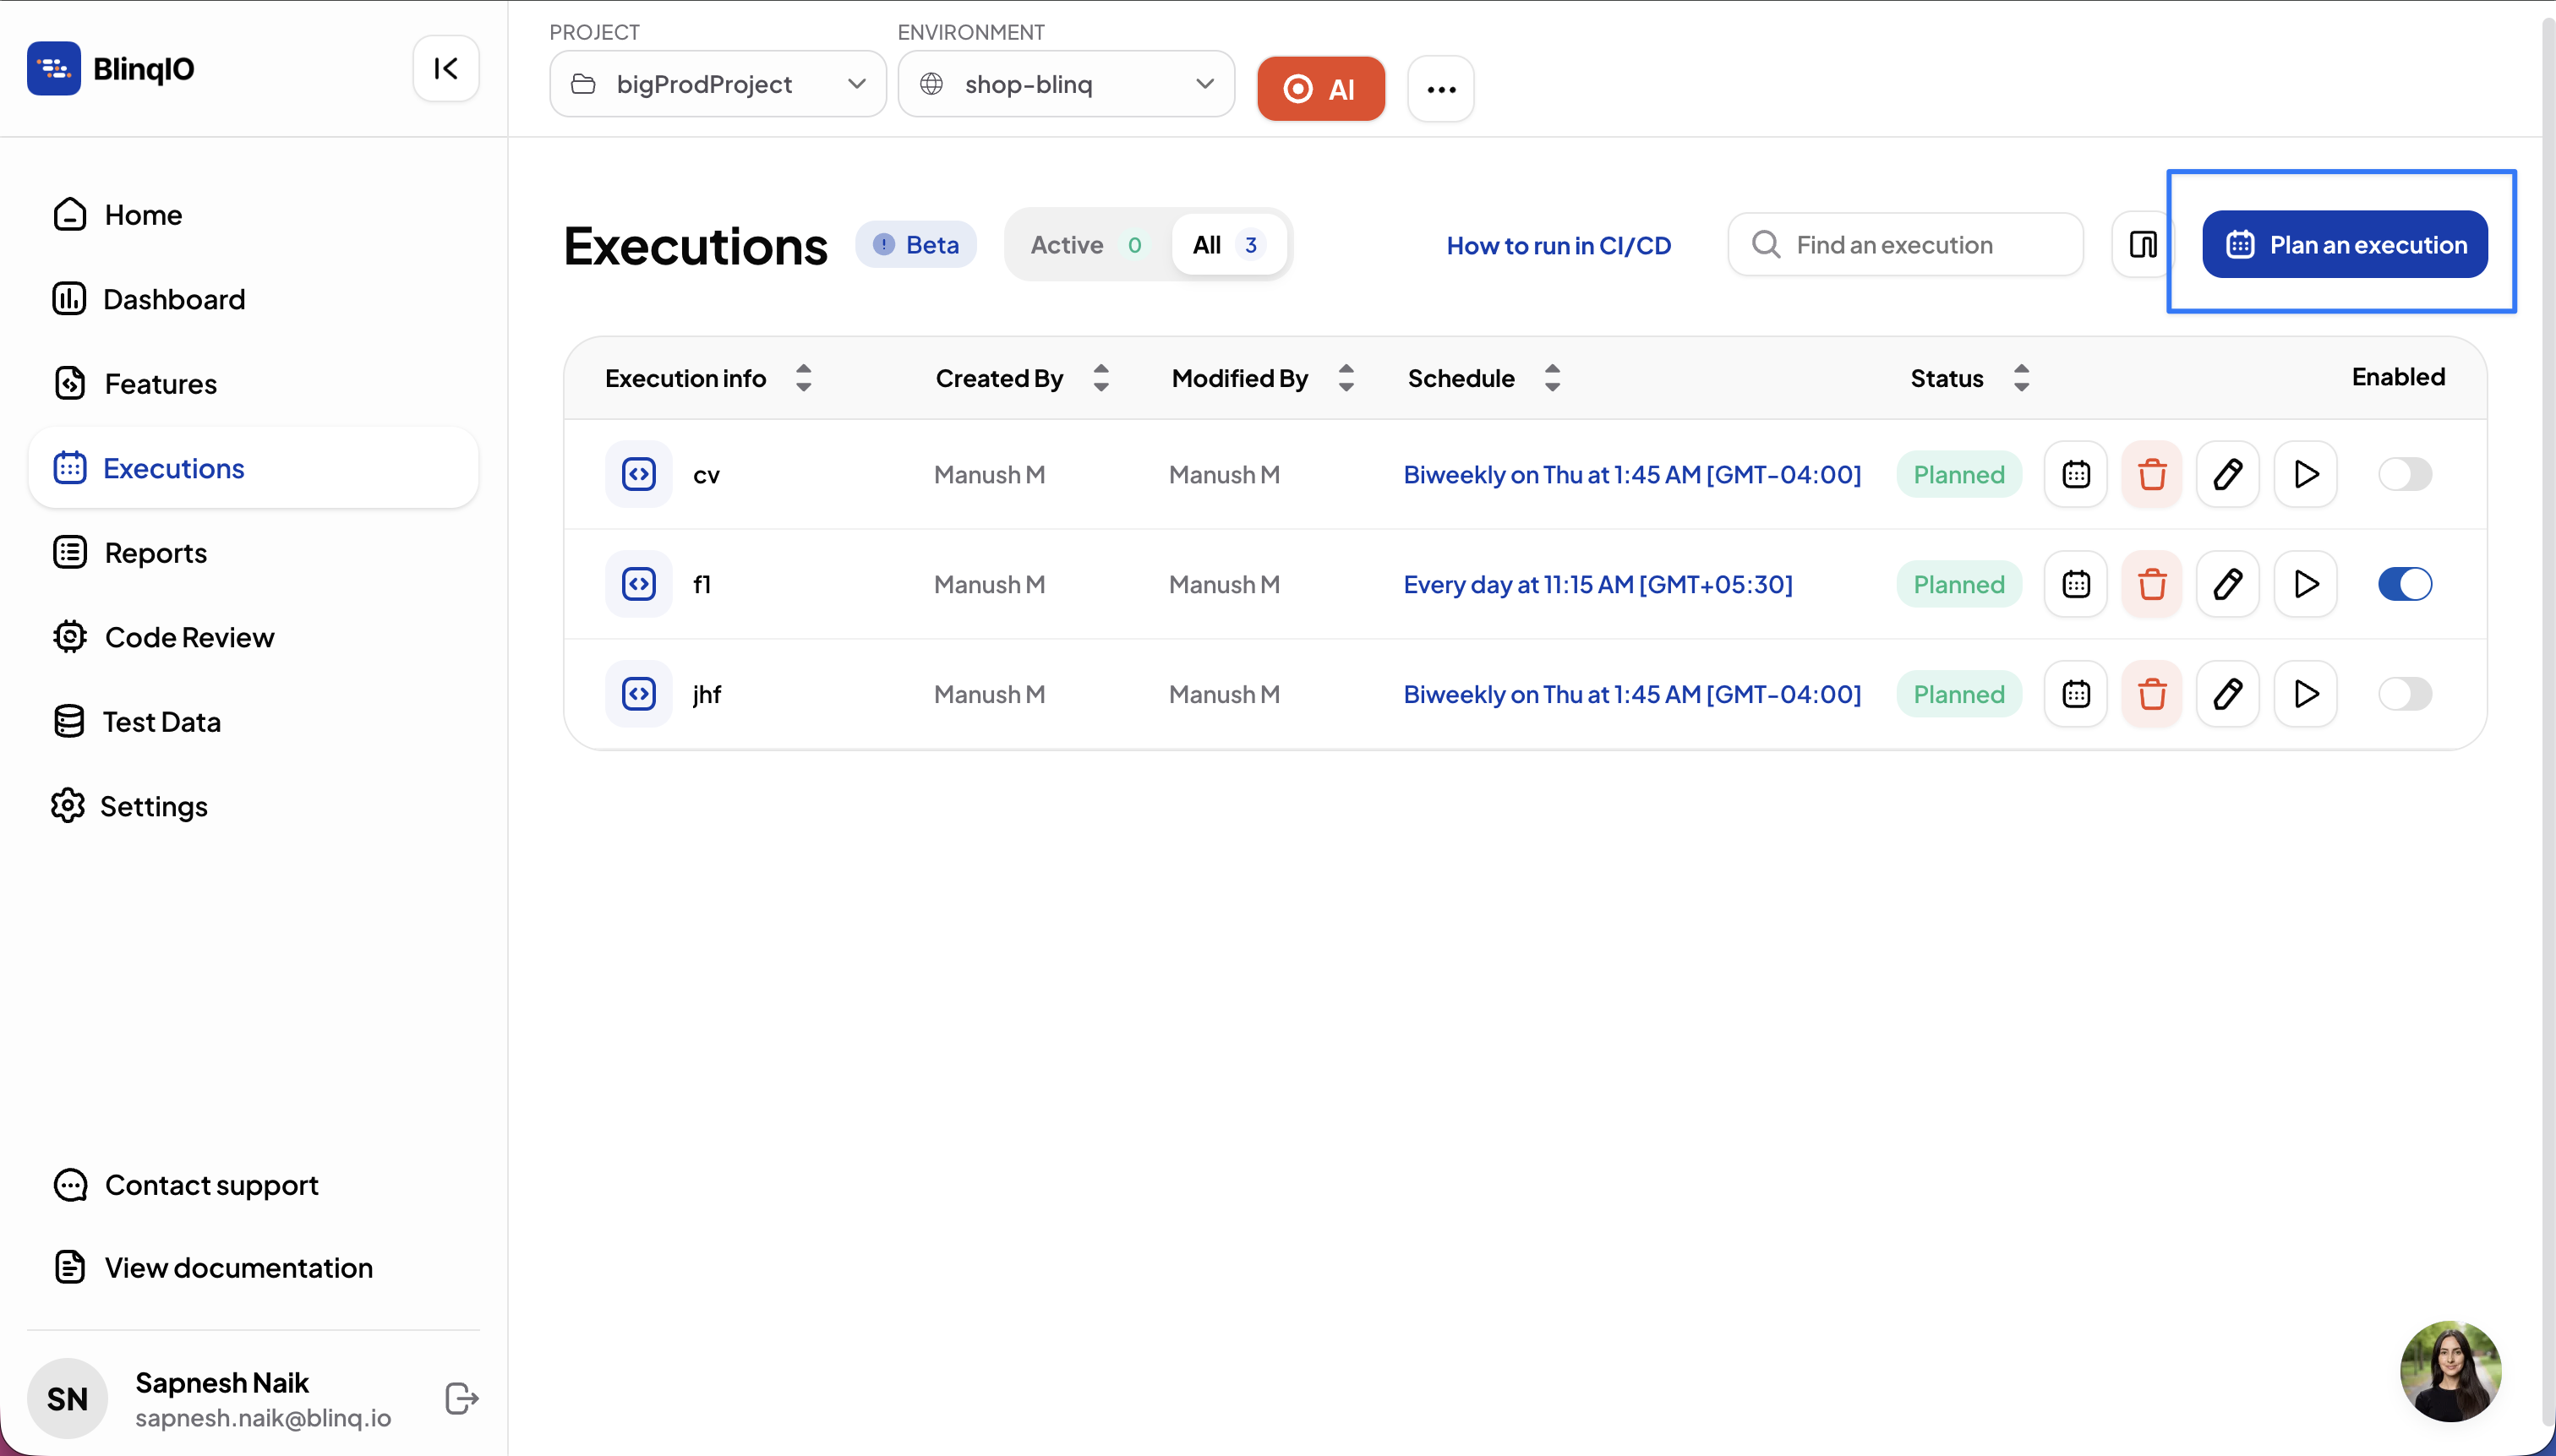
Create an Execution Schedule
Go to the Executions page and click Plan an Execution.
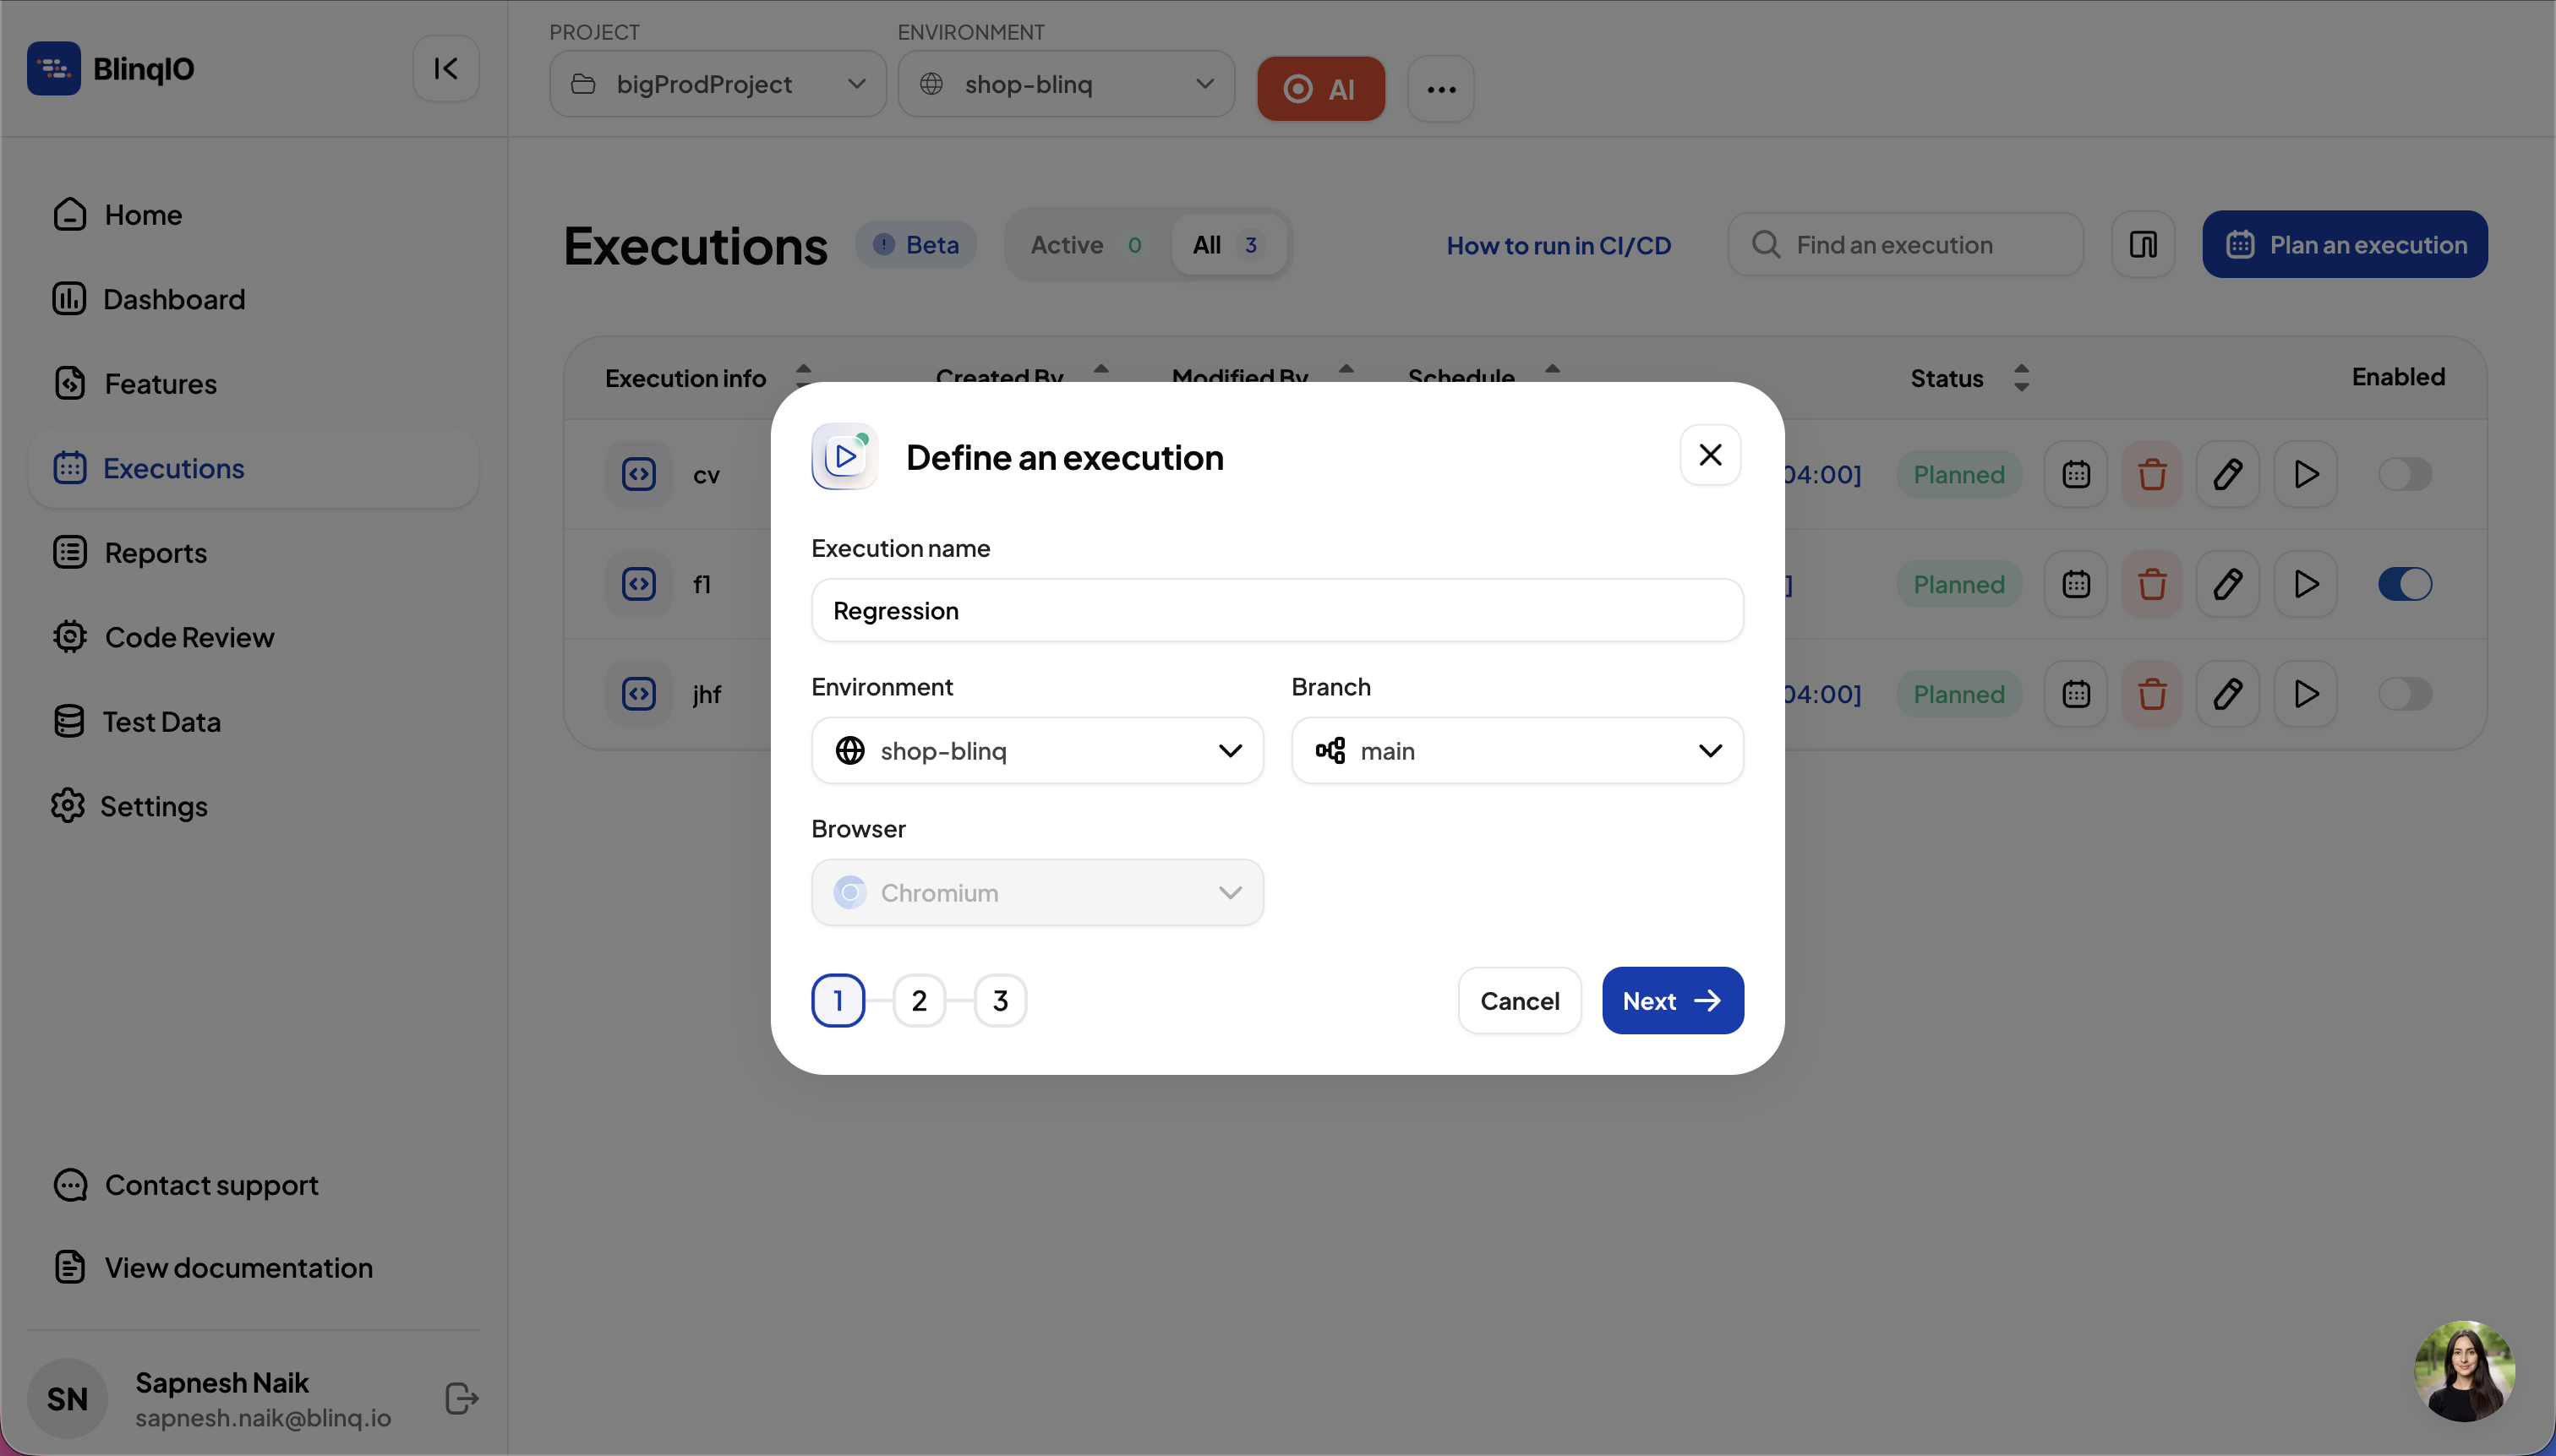
Enter an Execution Name and select the Environment (URL) where tests will run.
NOTE
Selecting a different browser is not supported yet. All tests will run on the Chromium browser.
Define a Scenario Group Name, then select the scenarios to include.
TIP
Use meaningful tags for your scenarios. Tags make it easier to filter and group scenarios when creating schedules.
Define the Schedule
Select the Date and Time for the execution.
INFO
You can skip scheduling at this stage. The plan will be saved as a Draft and scheduled later.
Click Apply to confirm.
The plan appears in the Executions list and runs automatically at the configured time.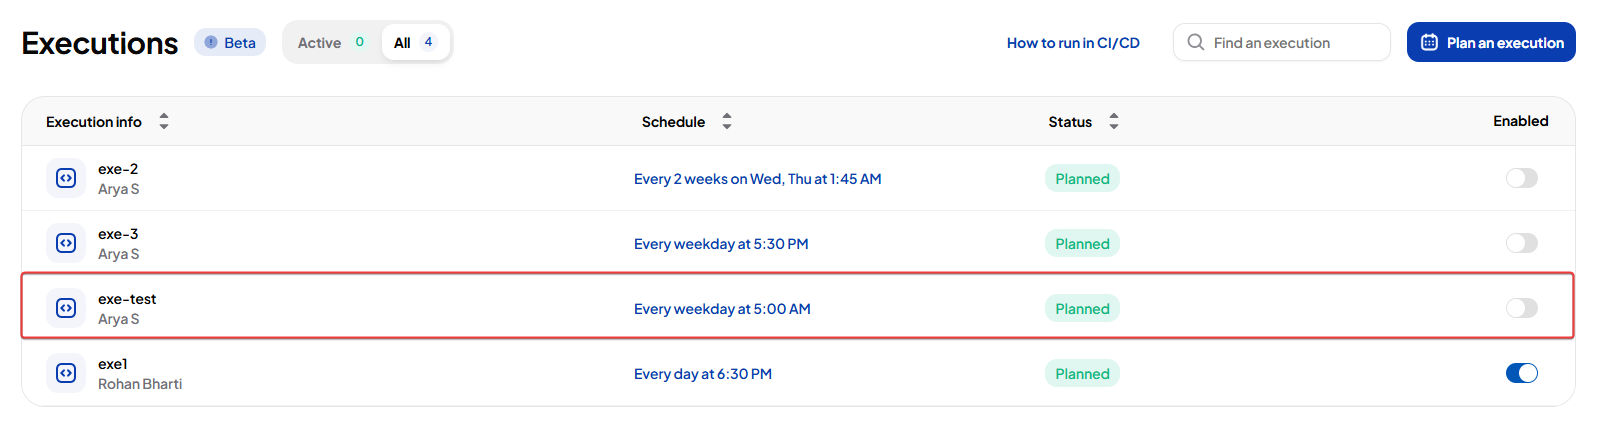
Manage Executions
The Executions page lists all scheduled and active runs. From here, you can view details, monitor progress, and manage plans.
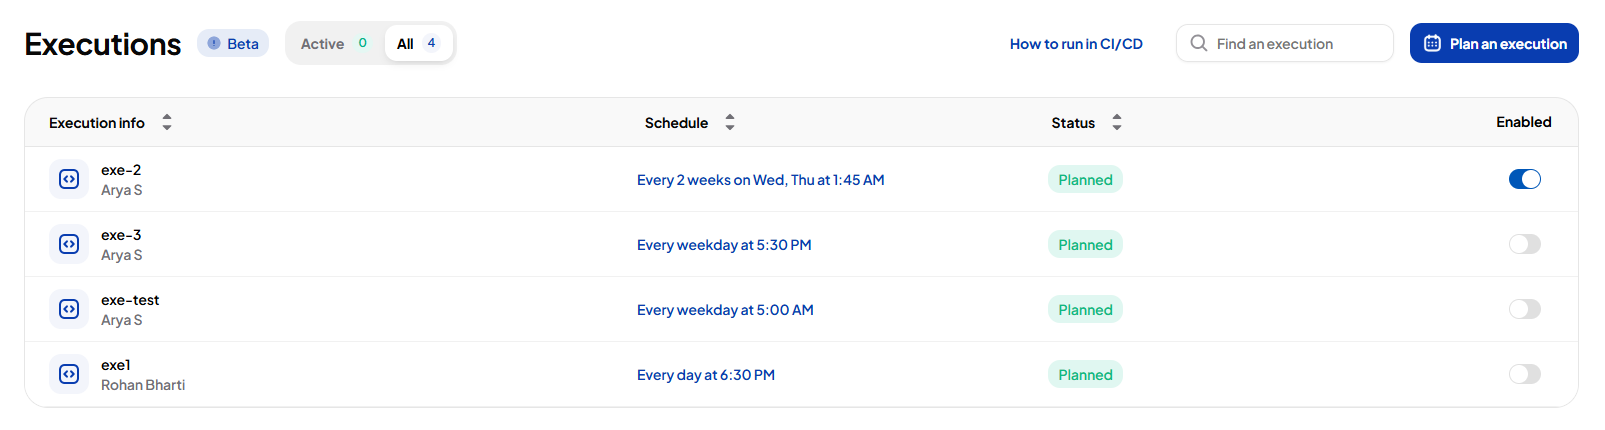
Execution Counters
At the top of the page, you will see:
- Active Executions: Number of executions currently running.
- All Executions: Total number of scheduled executions.
Execution List
Each execution shows:
- Execution Info: Name and user who scheduled it.
- Schedule: Planned day(s) and time.
- Status:
- Planned: A schedule is set.
- Active: Execution is running.
- Draft: Plan saved with no schedule.
- Enable/Disable: Toggle to activate or deactivate the execution.
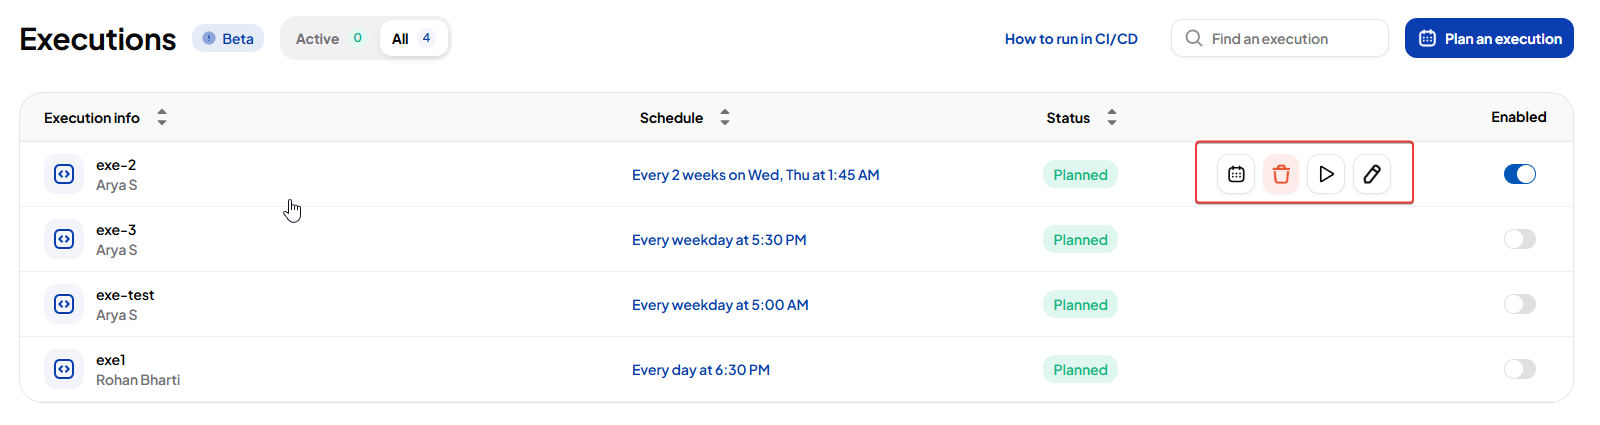
Hover over any execution to access the actions menu:
- Schedule Execution: Set or update the schedule.
- Run Now: Start immediately.
- Edit Execution: Modify details.
- Delete Execution: Remove the plan.
You can also sort by columns or search to quickly find an execution.
Execution Structure
Scheduled runs follow a structured format to control how scenarios are executed.
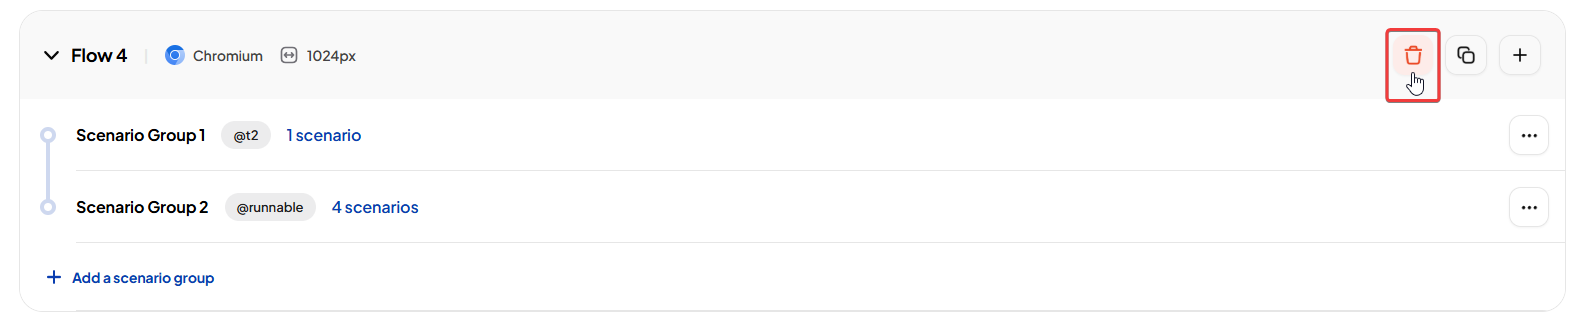
Flows
- An execution can include one or more Flows. Flows run in parallel to maximize concurrency.
- Add new flows or duplicate existing ones to reuse groups.
- Delete flows when they are no longer needed.
Scenario Groups
- Each flow contains one or more Scenario Groups.
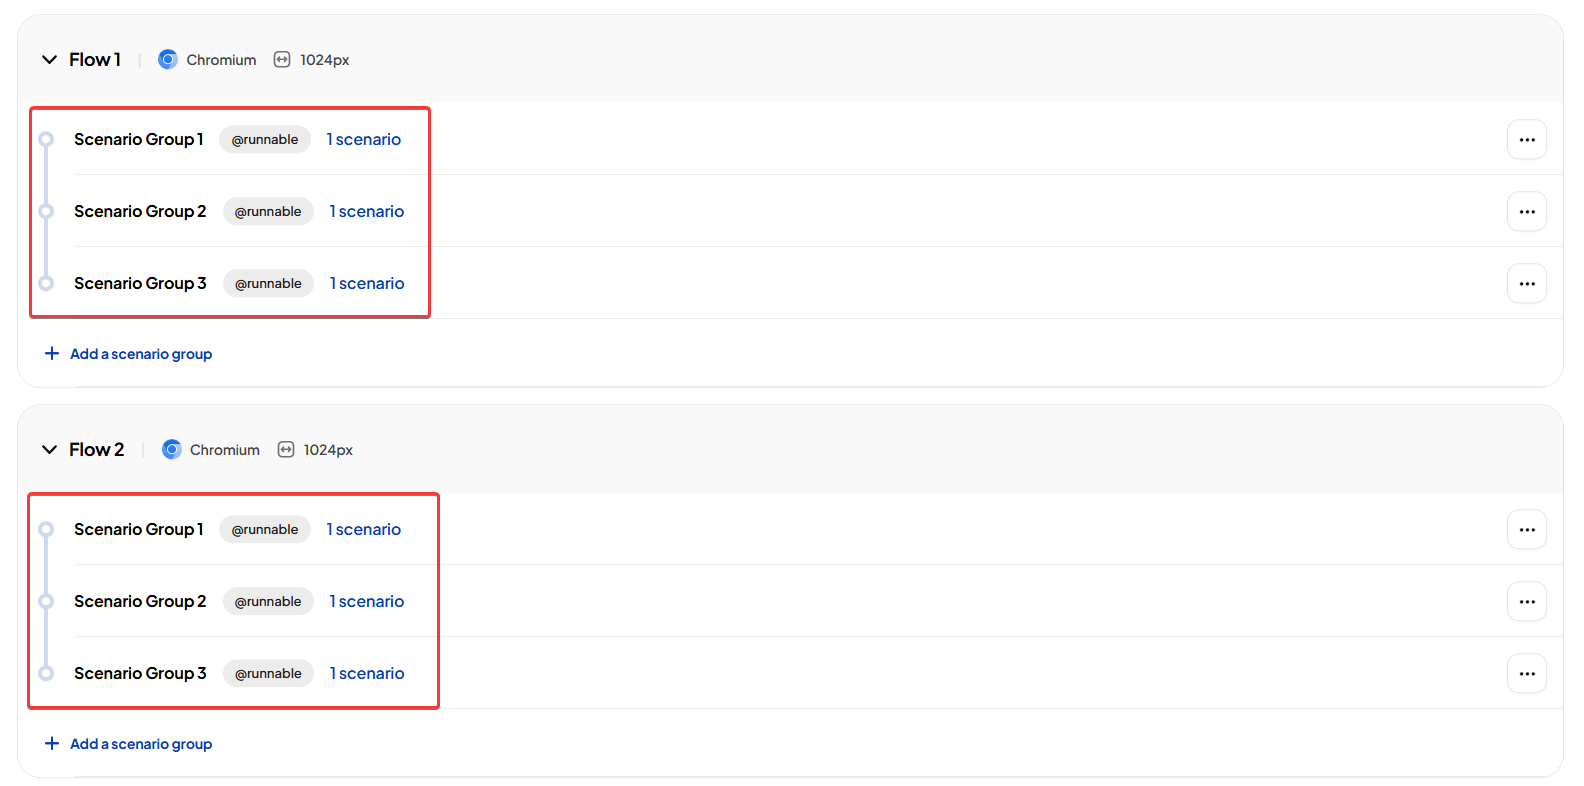
- Scenario groups run sequentially within a flow.
- Add multiple groups to organize scenarios logically.
- Reorder groups to change execution order.

- Edit groups to add or remove scenarios.

Thread Allocation
- Threads are assigned at the Scenario Group level.
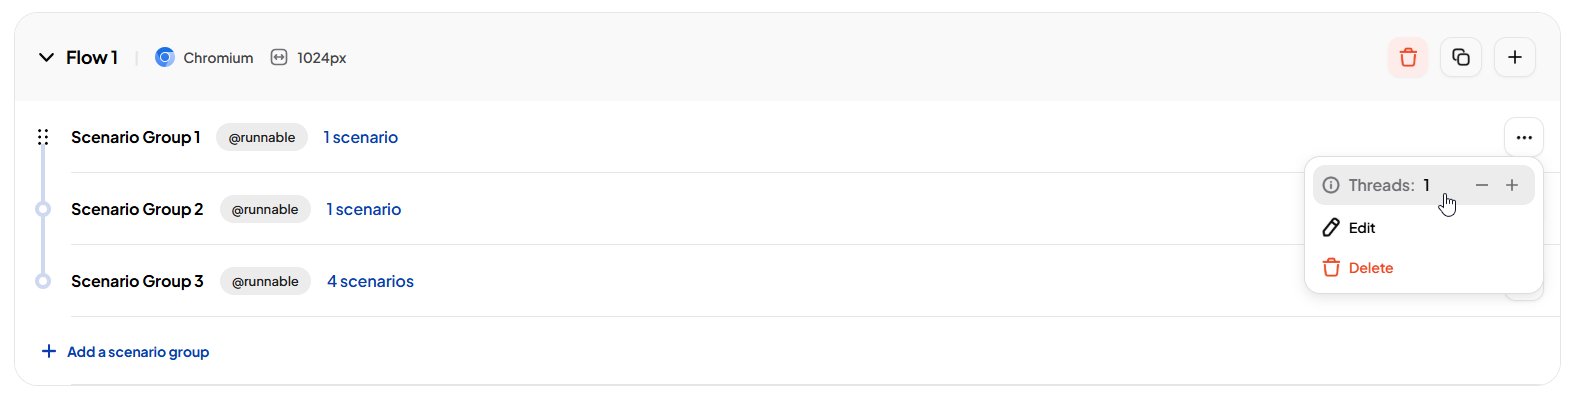
- Multiple groups can run in parallel depending on available threads.
INFO
Upcoming Enhancements
- Browser selection: Choose which browser to use.
- Viewport configuration: Set screen size or resolution (for example, Desktop 1024px).
- Git branching: Current executions run on the
mainbranch. Future updates will allow selecting branches.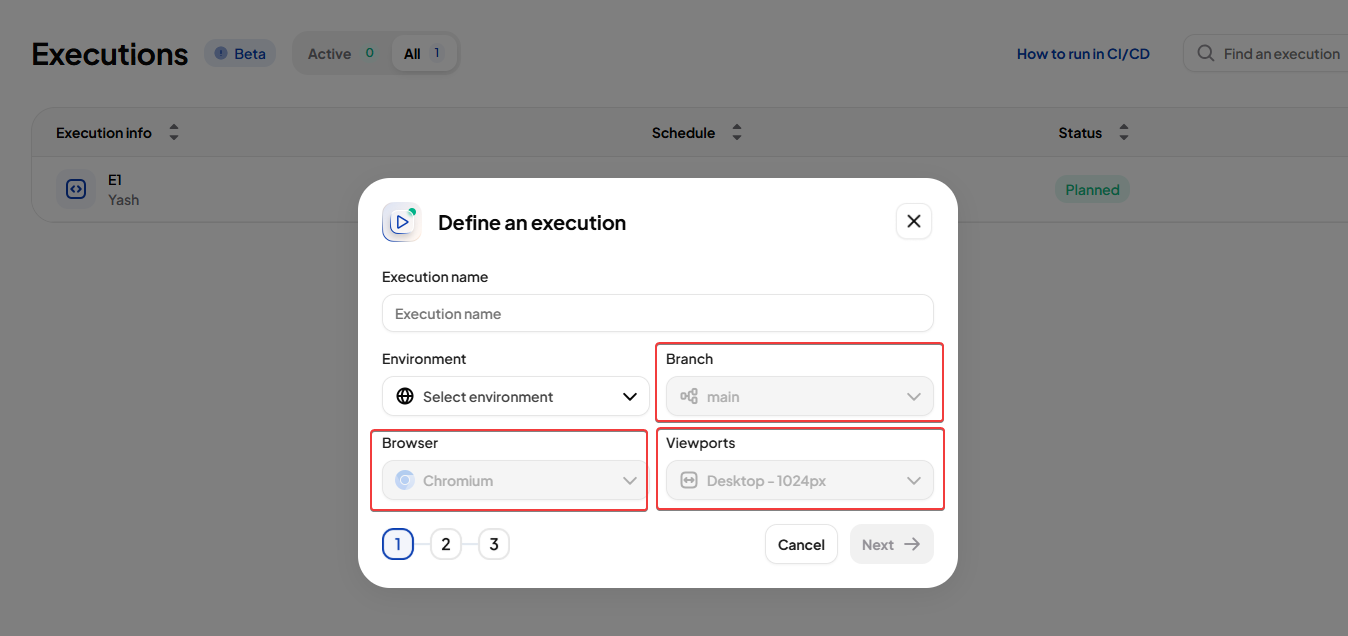
Best Practices
- Use clear execution names that describe the purpose of the run.
- Organize scenarios with tags for easier grouping.
- Start with smaller flows to verify schedules before scaling up.
- Regularly review and disable unused executions to keep the list clean.
- Use drafts for test planning before finalizing the schedule.